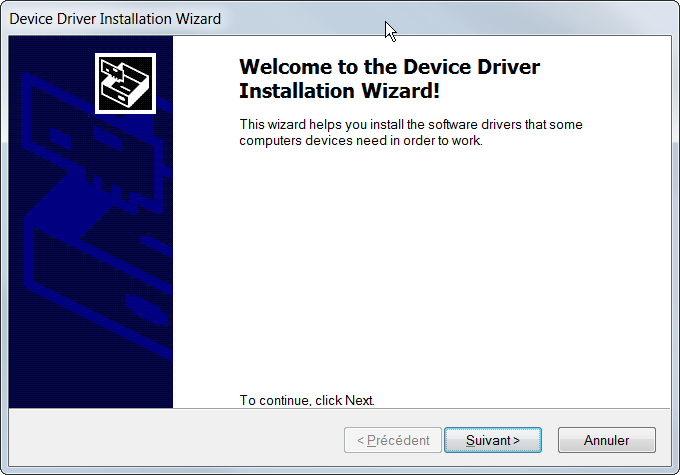
Next to my previous article devoted to programming MMDVM firmware on an Arduino Due board, here is the step-by-step presentation of programming MMDVM on a STM32F4xx board.

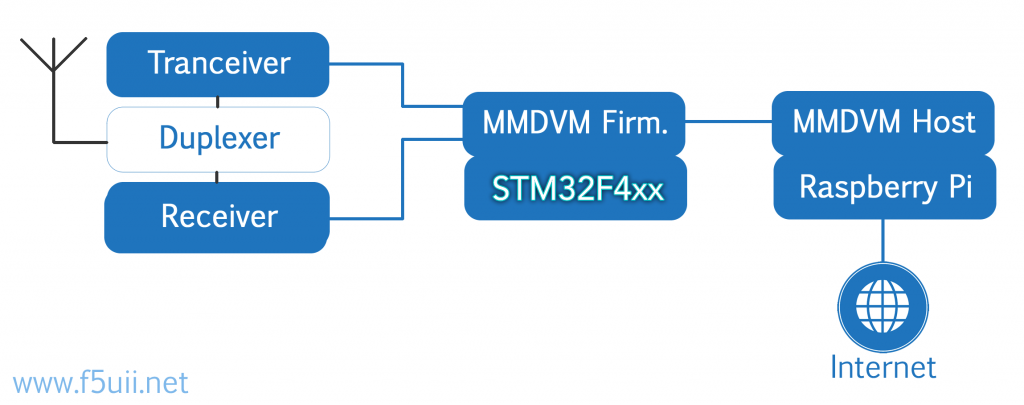
Synoptic of a repeater using the “MultiMode Digital Voice Modem” (MMDVM) installed on an STM32 board
La platine STM32F4xx du constructeur ST Micro electronic permet avantageusement de remplacer l’Arduino Due dans son application de relais numérique multimode MMDVM. De plus la platine STM32F446RE Nucleo par exemple est accessible à un prix plutôt bas (environ 15€)
The STM32F4xx board of the manufacturer ST Micro electronic advantageously allows to replace the Arduino Due in its application of multimode digital MMDVM repeater . Moreover the STM32F446RE Nucleo for example is accessible at a rather low price (about 15 €)

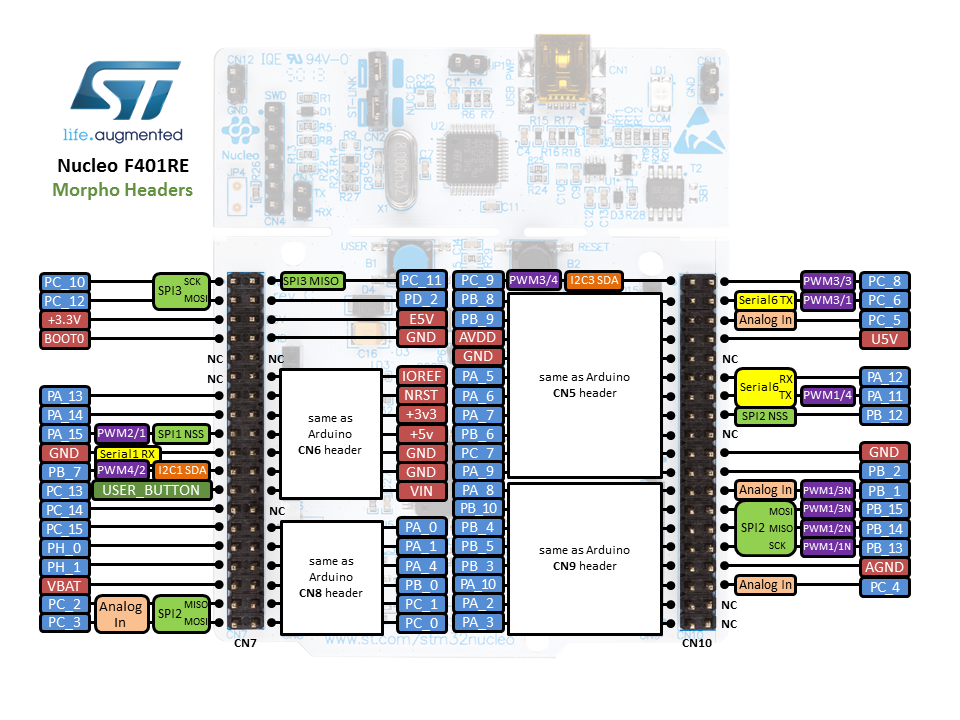
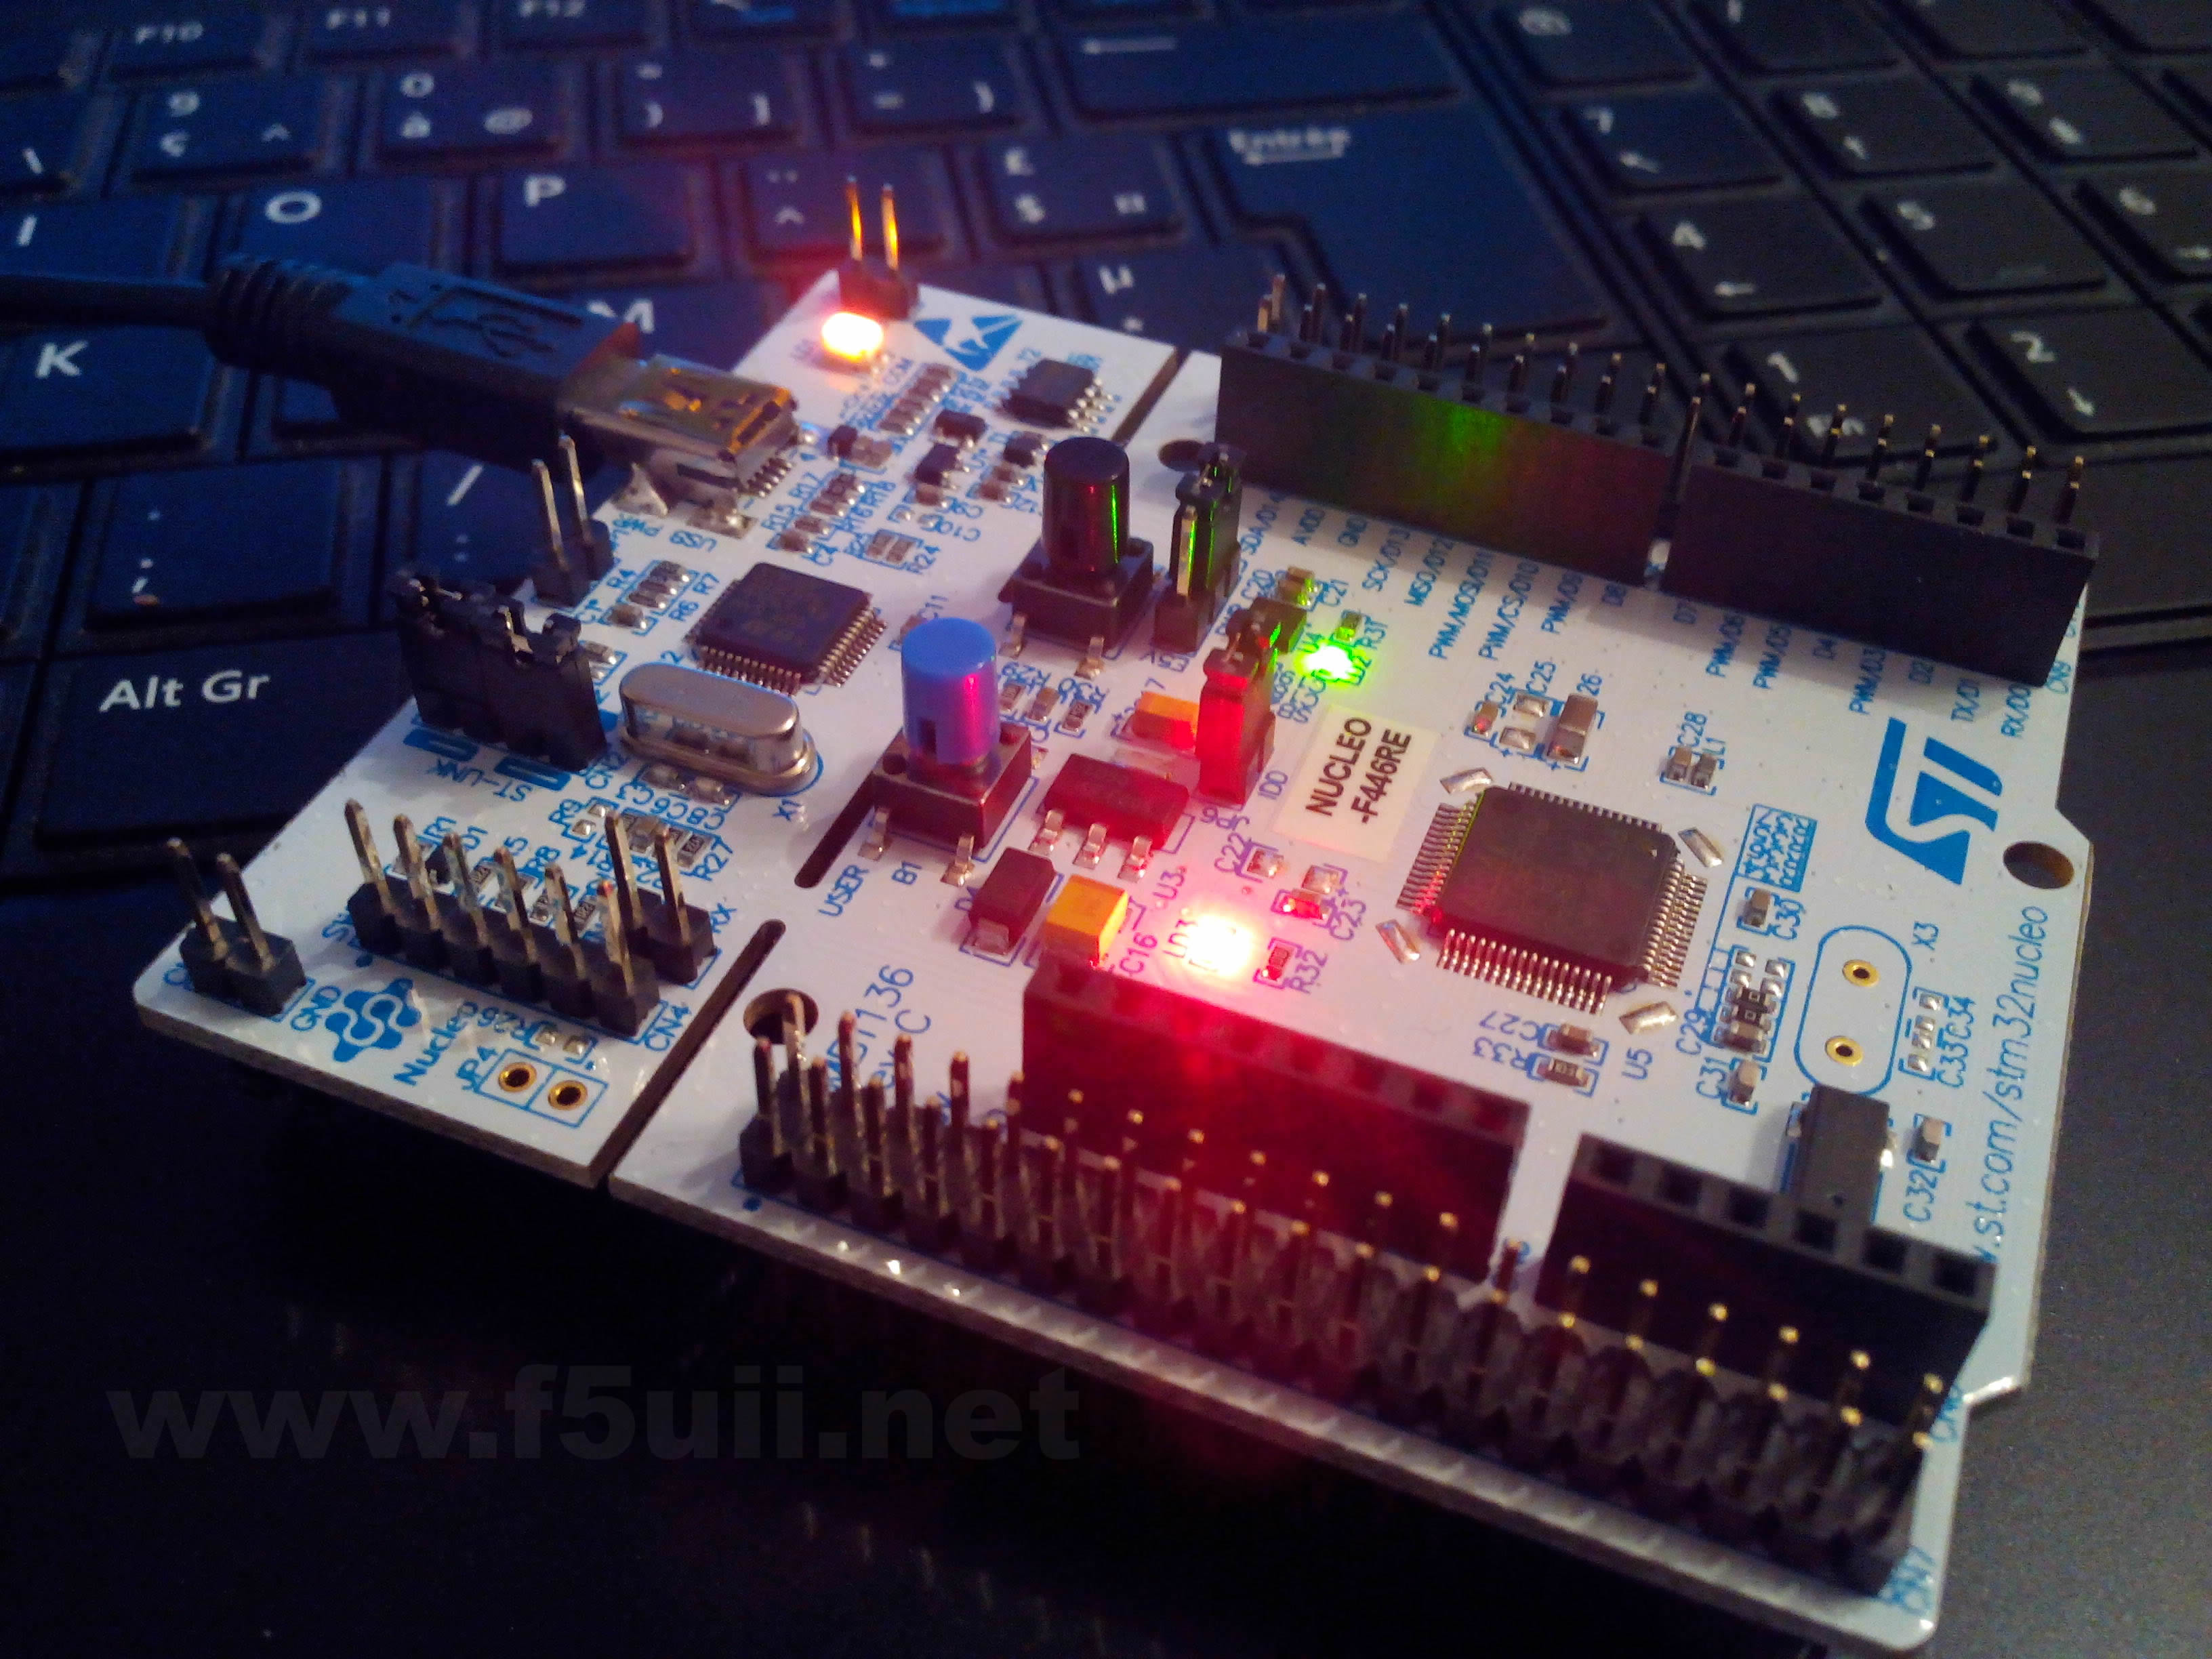
Pinout of the Nucleo STM32F4 Board
Download MMDVM
- The firmware (software) of MMDVM must be download on github platform.
https://github.com/g4klx/MMDVM - Download the ZIP file from the top right button

- Unzip MMDVM-master.zip file in a directory.
- Rename the directory to MMDVM
- Open the configuration file “Config.h” to match to my MMDVM filtering shield:
- Validate the 12 MHz external oscillator
#define EXTERNAL_OSC 12000000)
- Indicate the version of the MMDVM board
#define ARDUINO_DUE_NTH
- Inform the network of the signal level measured by the receiver
#define SEND_RSSI_DATA
- Validate pin assignment to install a Nextion touch screen
#define SERIAL_REPEATER
- Validate the 12 MHz external oscillator

/*
 *   Copyright (C) 2015,2016 by Jonathan Naylor G4KLX
 *
 *   This program is free software; you can redistribute it and/or modify
 *   it under the terms of the GNU General Public License as published by
 *   the Free Software Foundation; either version 2 of the License, or
 *   (at your option) any later version.
 *
 *   This program is distributed in the hope that it will be useful,
 *   but WITHOUT ANY WARRANTY; without even the implied warranty of
 *   MERCHANTABILITY or FITNESS FOR A PARTICULAR PURPOSE.  See the
 *   GNU General Public License for more details.
 *
 *   You should have received a copy of the GNU General Public License
 *   along with this program; if not, write to the Free Software
 *   Foundation, Inc., 675 Mass Ave, Cambridge, MA 02139, USA.
 */

#if !defined(CONFIG_H)
#define  CONFIG_H

// Allow for the use of high quality external clock oscillators
// The number is the frequency of the oscillator in Hertz.
//
// The frequency of the TCXO must be an integer multiple of 48000.
// Frequencies such as 12.0 Mhz (48000 * 250) and 14.4 Mhz (48000 * 300) are suitable.
// Frequencies such as 10.0 Mhz (48000 * 208.333) or 20 Mhz (48000 * 416.666) are not suitable.
//
// For 12 MHz
#define EXTERNAL_OSC 12000000
// For 12.288 MHz
// #define EXTERNAL_OSC 12288000
// For 14.4 MHz
// #define EXTERNAL_OSC 14400000
// For 19.2 MHz
// #define EXTERNAL_OSC 19200000

// Allow the use of the COS line to lockout the modem
// #define USE_COS_AS_LOCKOUT

// Use pins to output the current mode
// #define ARDUINO_MODE_PINS

// For the original Arduino Due pin layout
// #define ARDUINO_DUE_PAPA

// For the ZUM V1.0 and V1.0.1 boards pin layout
// #define ARDUINO_DUE_ZUM_V10

// For the SP8NTH board
#define ARDUINO_DUE_NTH

// To use wider C4FSK filters for DMR, System Fusion and P25 on transmit
// #define WIDE_C4FSK_FILTERS_TX
// To use wider C4FSK filters for DMR, System Fusion and P25 on receive
// #define WIDE_C4FSK_FILTERS_RX

// Pass RSSI information to the host
#define SEND_RSSI_DATA

// Use the modem as a serial repeater for Nextion displays
#define SERIAL_REPEATER

#endif
Download the ST library
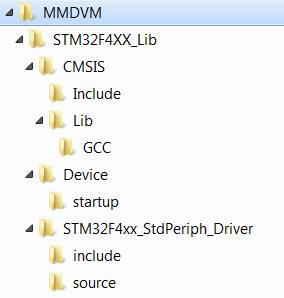
- Download the library STM32F4XX_Lib.zip
- Unzip the file
- Move all files and subdirectories into the MMDVM directory, before created


Download free compiler utility
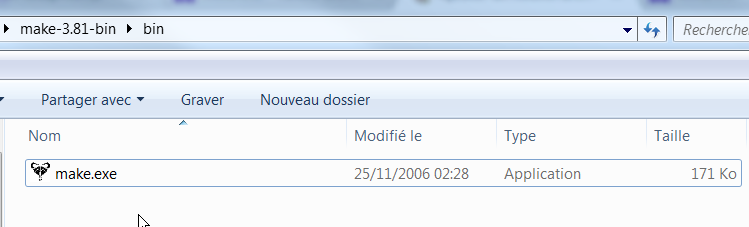
- Download the compressed file Binaries ZIP on https://gnuwin32.sourceforge.net/packages/make.htm (or directly here make-3-81-bin)
- Unzip the file
- Copy the make.exe file from bin subdirectorydu in MMDVM directory

Download Dependencies
- Download the dependencies ZIP file on https://gnuwin32.sourceforge.net/packages/make.htm (or directly here make-3-81-dep)
- Unzip the file
- Copy the following files from bin subdirectorydu in MMDVM directory
- libintl3.dll
- libiconv2.dll
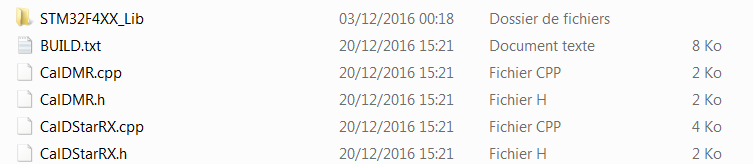
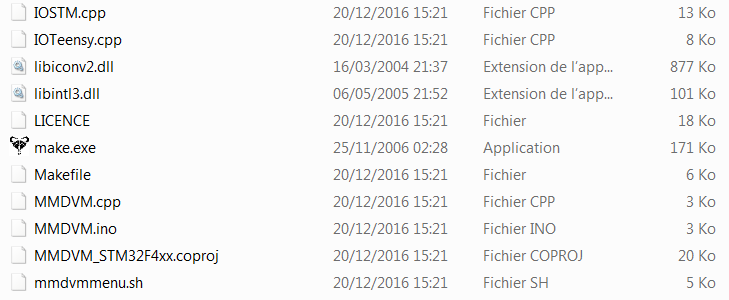
Here is an excerpt of the files contained at this stage in the MMDVM directory.

Download the integrated software suite for ARM
- Download the dedicated software for compilation of ARM electronic compotents on https://launchpad.net/gcc-arm-embedded/+download (or directly here gcc-arm-none-eabi-5_4-2016q3-20160926-win32.exe)
- Install the software with the default path
- Execute from the “GNU Tools for ARM Embedded Processors” t menu the “GCC Command Prompt” line


Start compilation
- From the command window (GCC Command Prompt), go to the MMDVM directory.
cd MMDVM
- Clear all traces of already compiled files
make clean
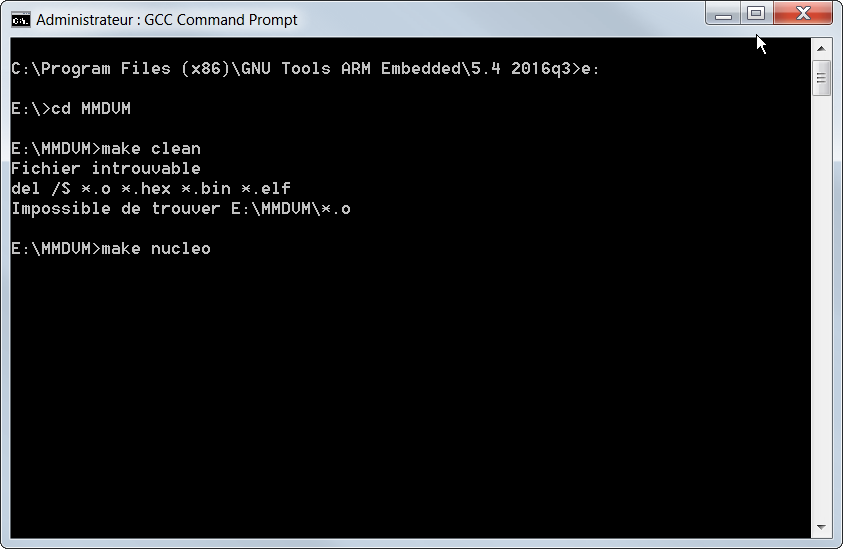
- Then for the nucleo STM32F446 board, start the compilation.
make nucleo
- If you have a Discovery STM32F407 board, start compilation
make dis


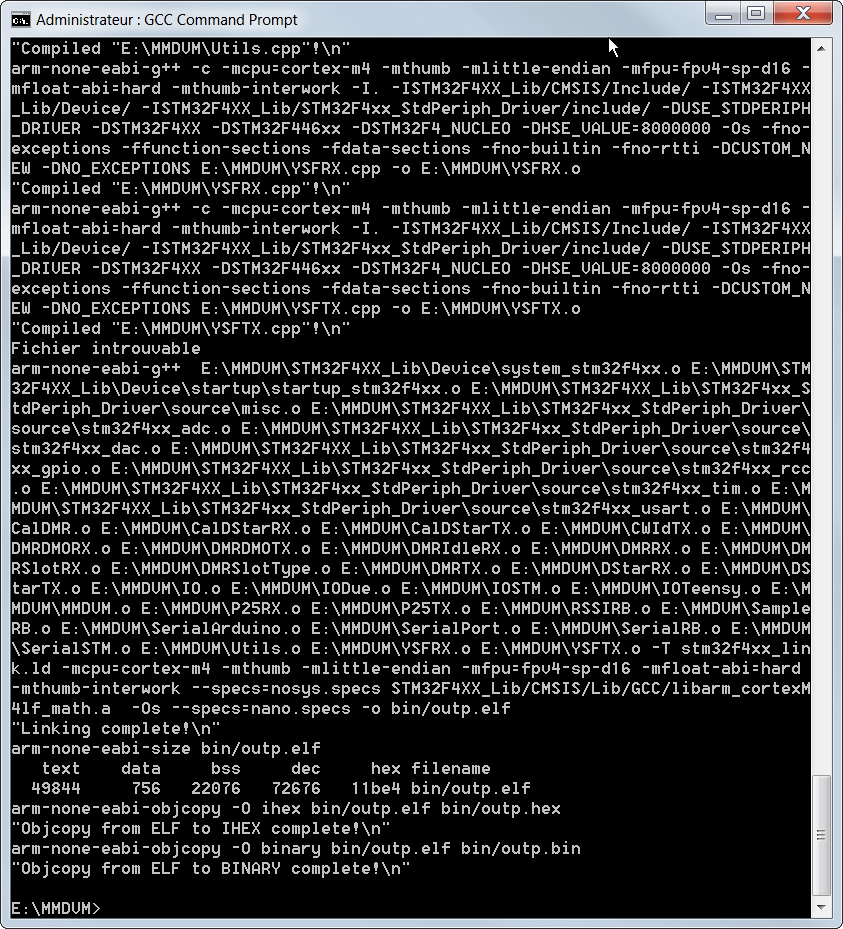
Compilation of MMDVM for STM32F446
The outp.hex and outp.bin files are available in the bin subdirectory and will now be loaded on the STM32F4xx.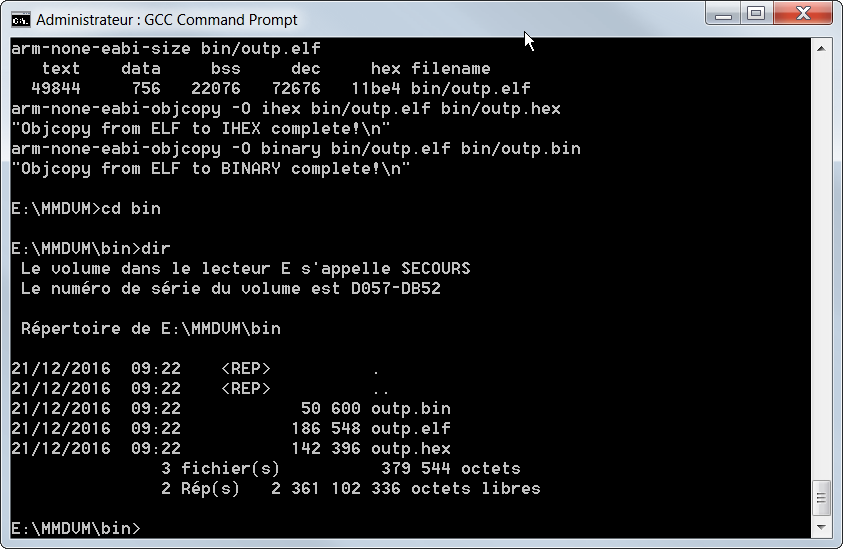
Download and program the STM32F4 board
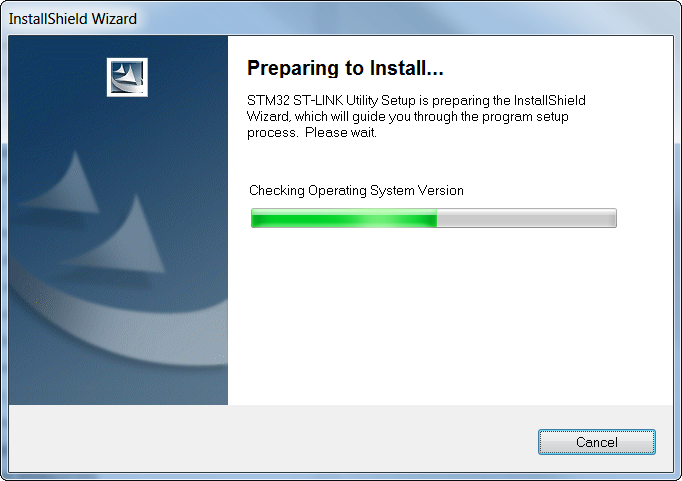
- Download the programing software provided by the manufacturer ST Micro Electronics “STM32 ST-LINK Utility” (On the websiote of ST Micro Electronics You must submit your email address in order to receive the download link, or download it directly here en-stsw-link004.zip)
- Unzip
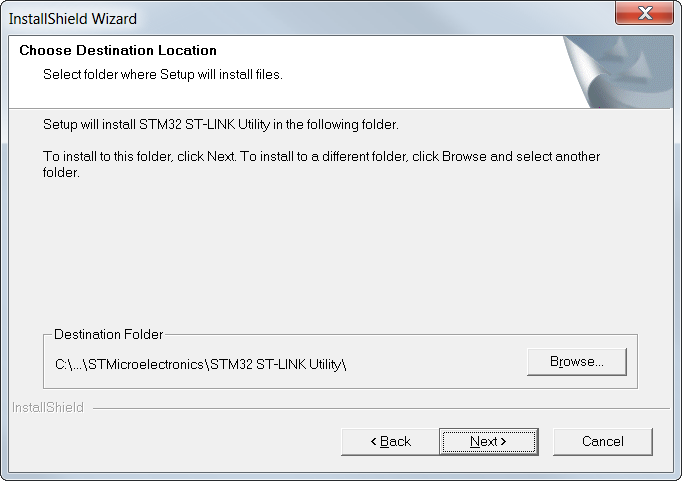
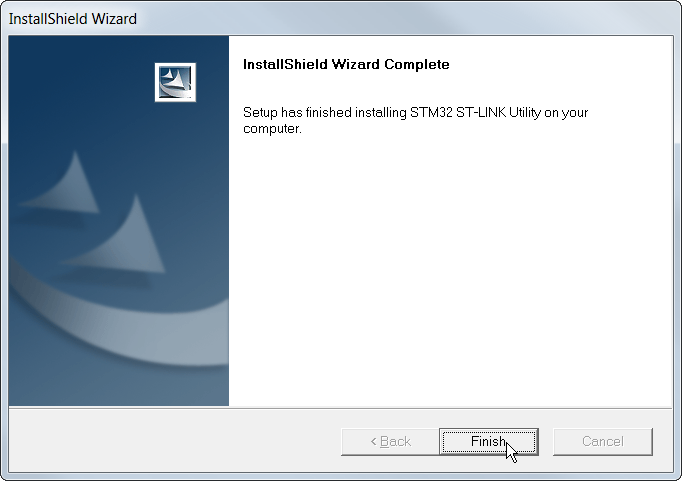
- Start intsllation of STM32 ST-LINK Utility
- Connect your board via USB cable to your PC
- The default installation destination is fine
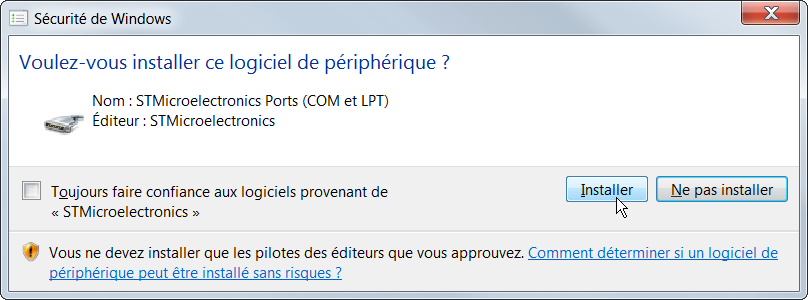
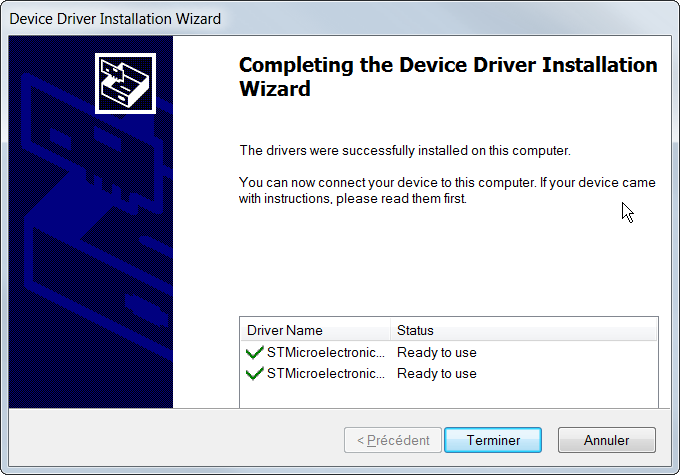
- The USB driver will also be installed, after a first click on Next
- Validate the installation of the USB drivers of the STM32 board by clicking the Install button (two times)

- Launch the STM32 ST-Link software available in the start menu
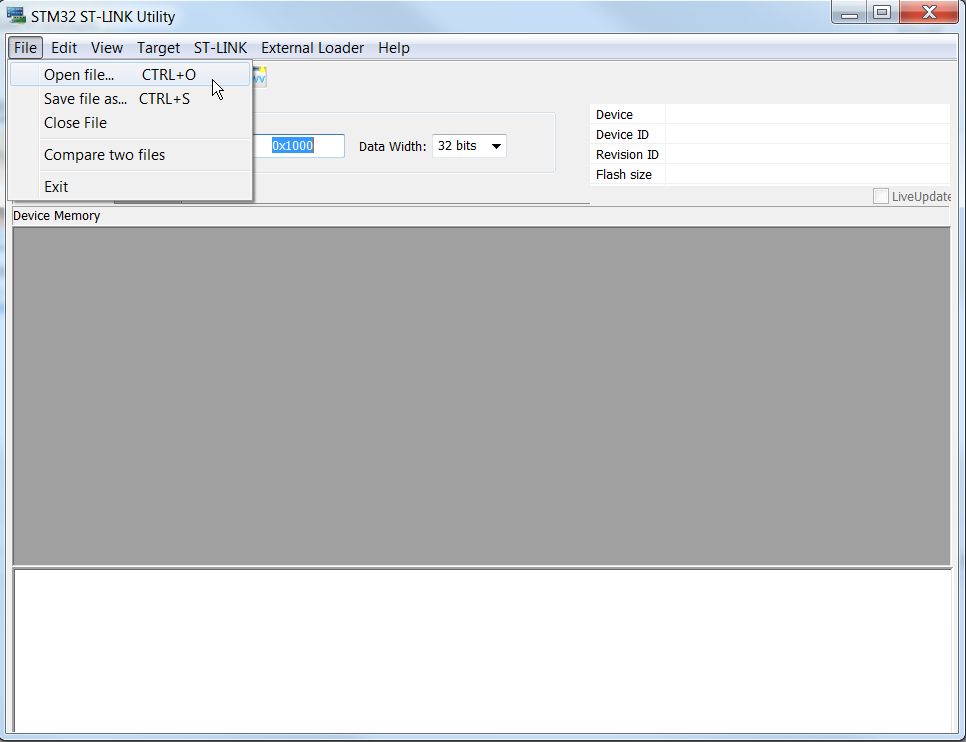
- Ouvrir le fichier compilé outp.hex (ou bien outp.bin) se trouvant dans le sous-répertoire bin\

- Connect the STM32F4xx board to one of your USB sockets.
- Start loading (programming) the board via the Target menu then Program & Verify (or by keyboard shortcut CTRL + P)

- Click the Start button to start programming the STM32F4xx
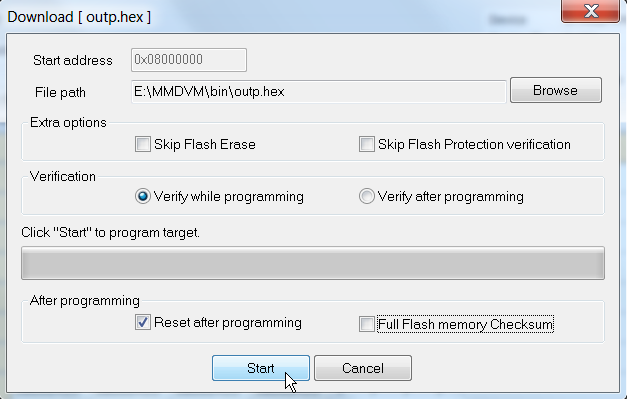
The console displays the correct execution “Verification…OK“


21:35:54 : [outp.hex] opened successfully.
21:35:54 : [outp.hex] checksum : 0x00406CE1
21:36:02 : ST-LINK SN : 0667FF535752877167095321
21:36:02 : ST-LINK Firmware version : V2J27M15
21:36:02 : Connected via SWD.
21:36:02 : SWD Frequency = 4,0 MHz.
21:36:02 : Connection mode : Normal.
21:36:02 : Debug in Low Power mode enabled.
21:36:02 : Device ID:0x421
21:36:02 : Device flash Size : 512KBytes
21:36:02 : Device family :STM32F446xx
21:36:06 : Memory programmed in 1s and 810ms.
21:36:06 : Verification...OK
21:36:06 : Programmed memory Checksum: 0x00406CE1
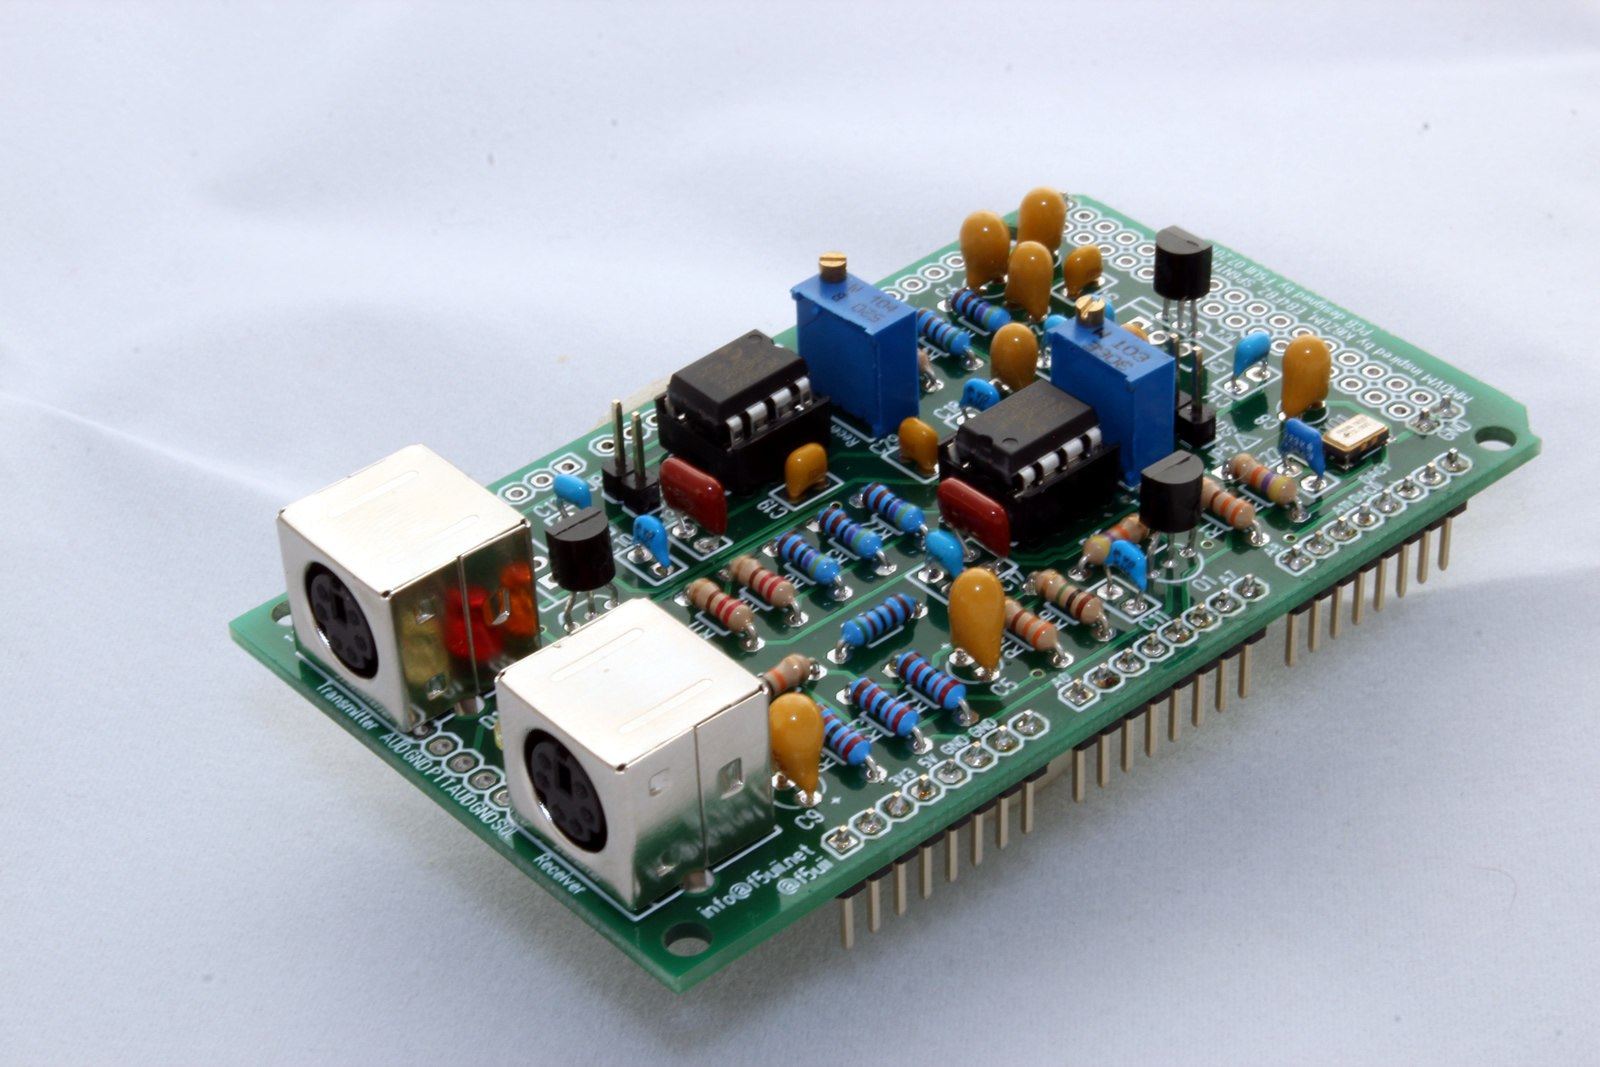
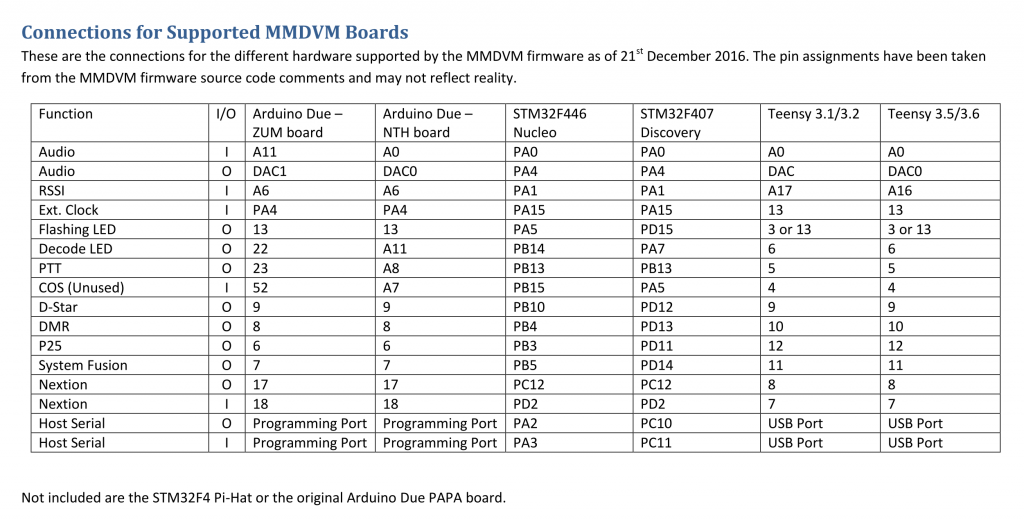
The MMDVM filter pinout
In the table below, you will find the pinout to follow according to the board. My previous MMDVM shield for Arduino uses the NTH definition.