Intro
Important note – Warning


Support
No support will be provided by email or private message. The best place to exchange ideas on this article is the comment area, located at the bottom of the page.
Purpose

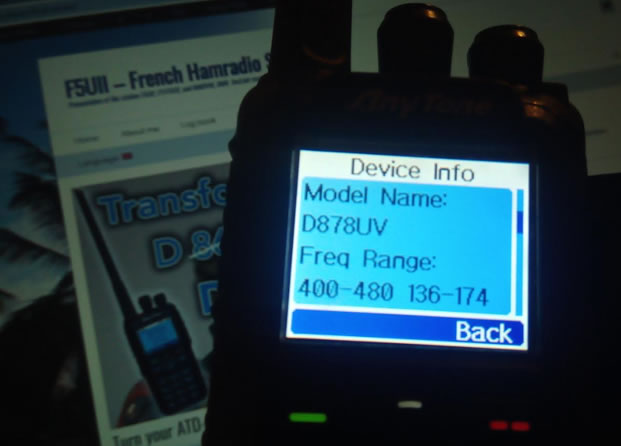
After its ATD868UV version, Anytone released its ATD878UV version in mid-2018. The main evolution of this latest version of the DMR walkie-talkie is its APRS function for analog channels, in addition to the APRS on DMR channels. After analysis, we realize that the two electronic platforms are identical. In any case, the V2 version of the ATD868UV is the same as the ATD878UV.
It should also be noted that the BTECH DMR-6X2 model, which is the equivalent of the AnyTone AT-D868UV, can also be modified under the same conditions.
This article is “multi-page”, to be browsed from one page to another or directly from the contents to the desired page.
Indeed, there are several hardware versions of the ATD-868UV set. Only version 2 is compatible with this modification.
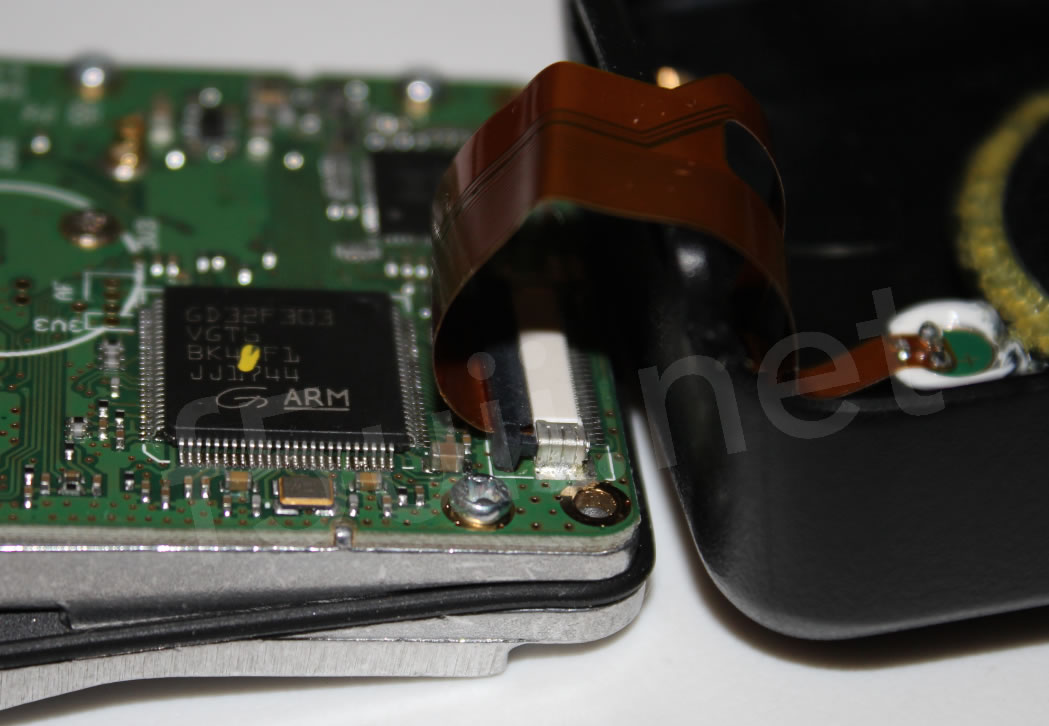
On the identification label on the back of the radio (under the battery), you will see FCC ID: T4KD868UV. But this indication is the same for all versions of the set. This does not allow to know if the terminal is compatible with the update. Similarly, the hardware version indicated in the Info menu is in any case indicated V1.10. The only way to be sure that this corresponds to a V2 device is to check the reference of the ARM processor.
The ATD878UV software uses about 750 kilobytes of memory. The ARM processor of the V2 version is a GD32F303VGT6 with a 1024 kilobyte flash memory. The GD32F303VET6 processor integrates only 512 kilobytes.
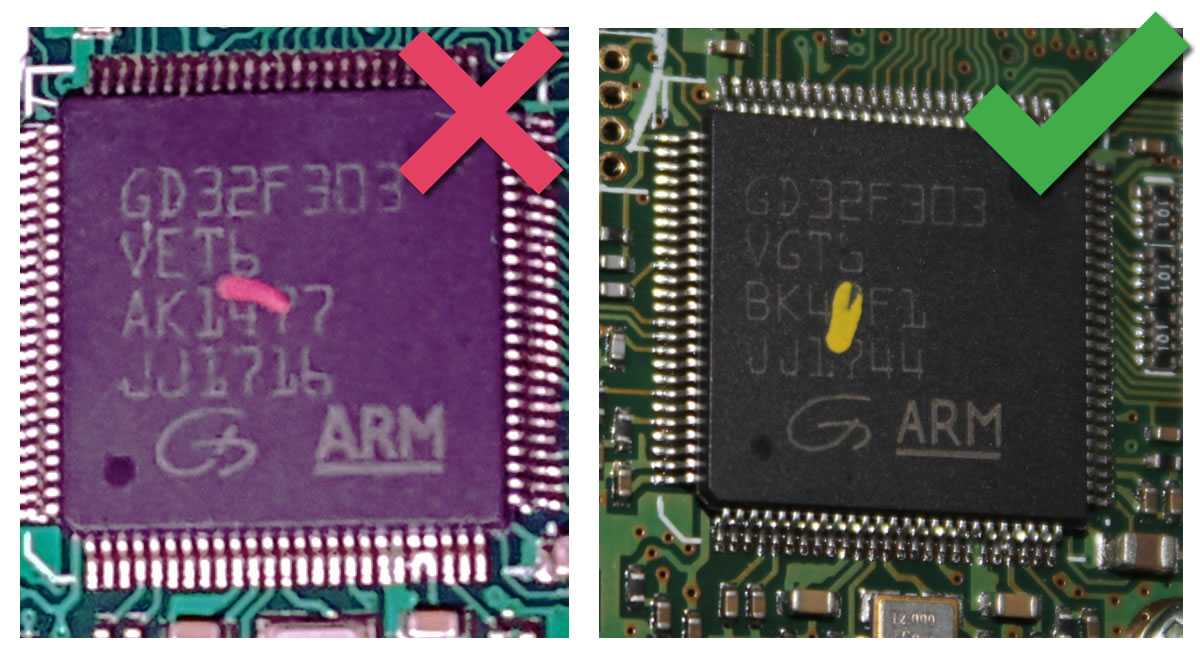
Left GD32F303VET6 (512ko) – Right GD32F303VGT6 (1024ko)
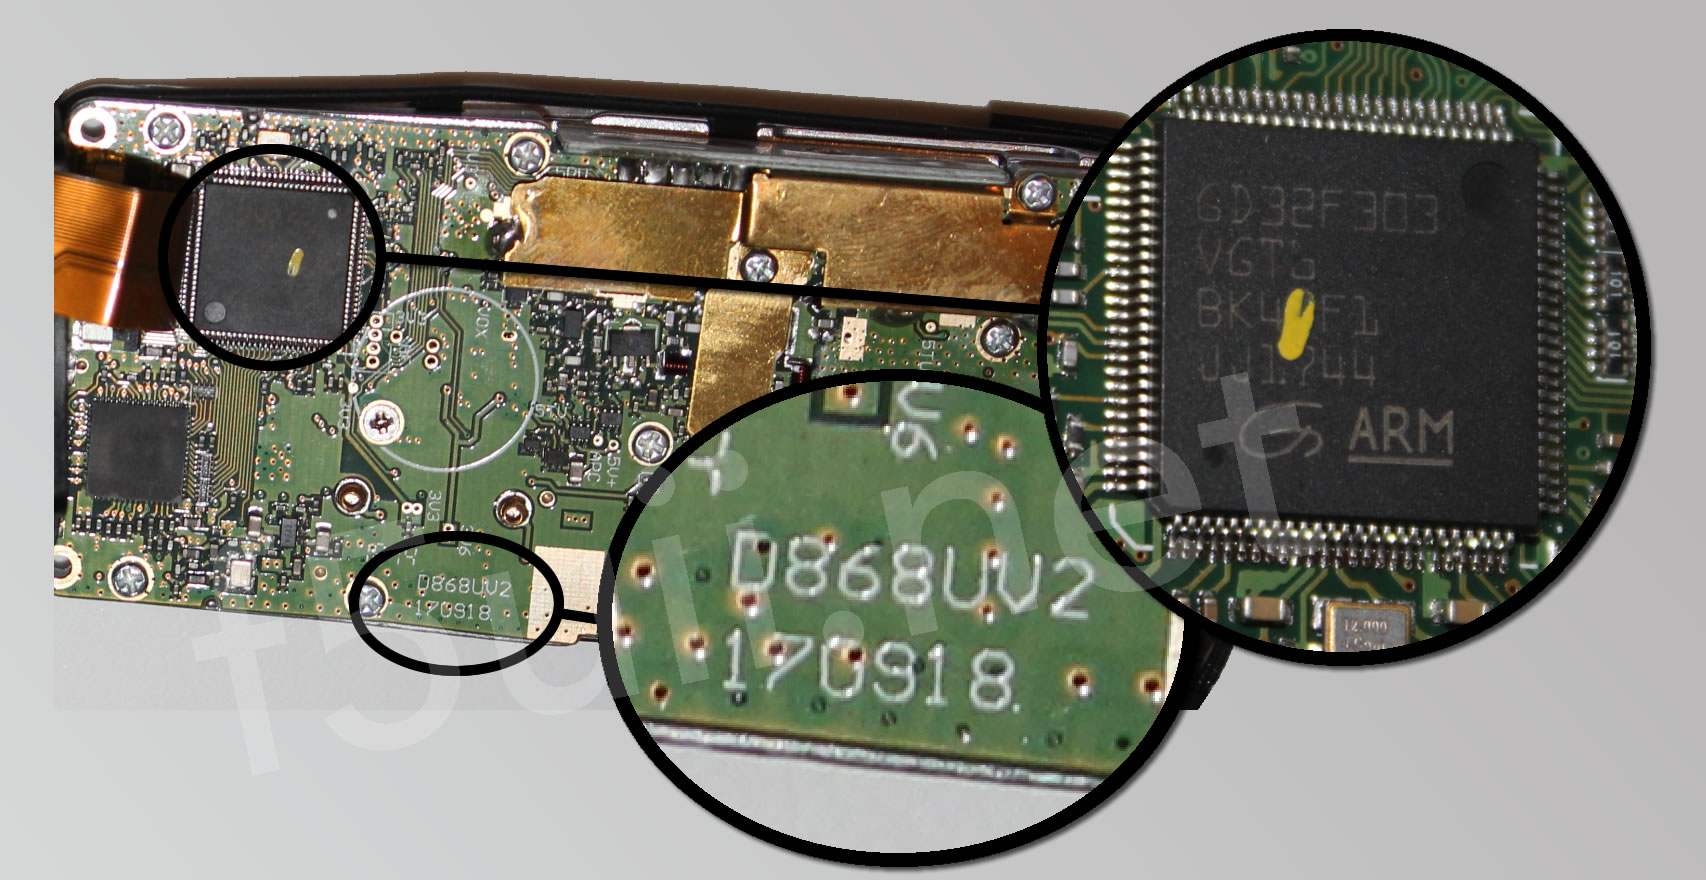
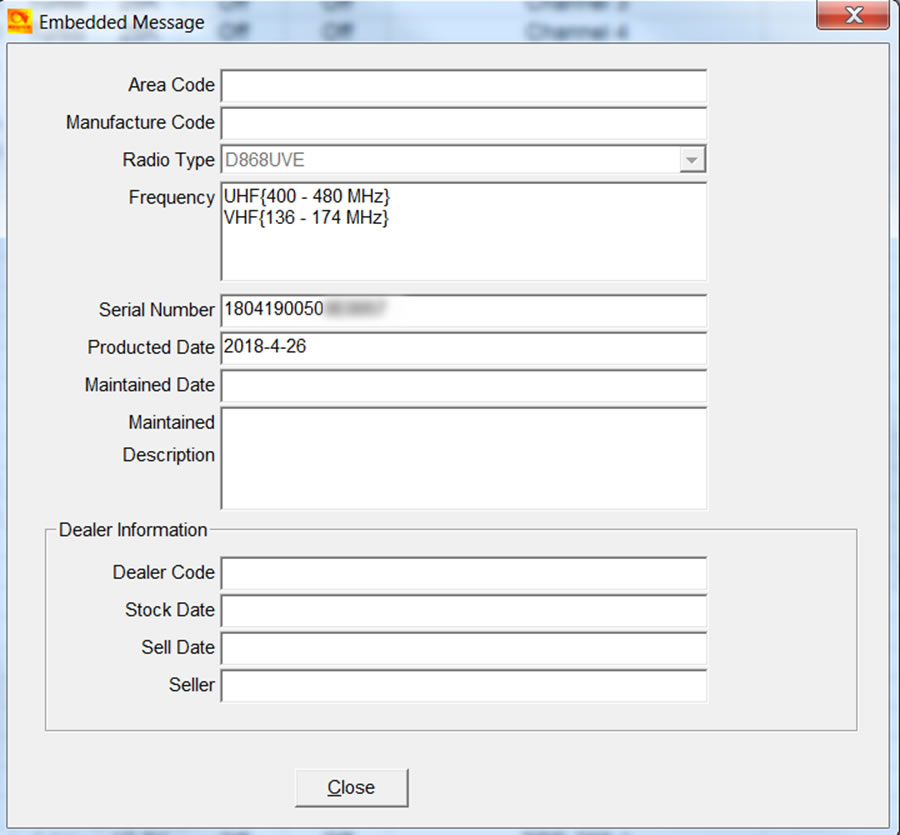
The correct serialized version D868UV2 with the GD32F303-VGT6
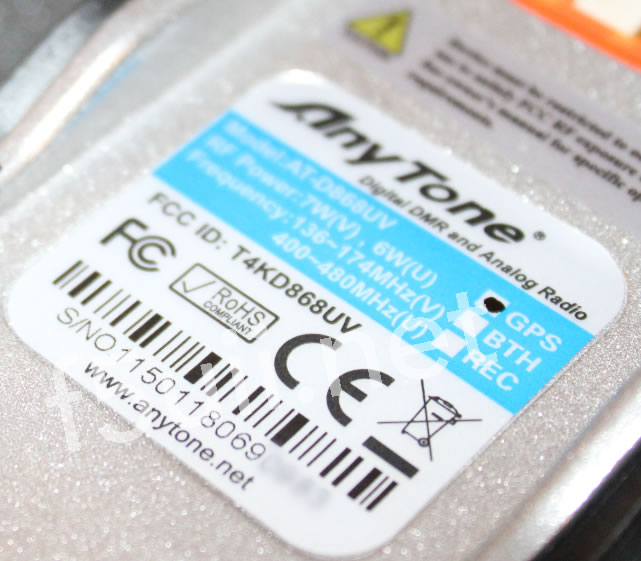
The label and serial number T4KD868UV
Nevertheless, the serial number printed on the back (S/NO) may be a good clue. But we do not know exactly the number from which the items are in version V2.
- 115011726901XXX : No – ARM VET6 with 512K
- 1150117317XXXX : Yes – ARM VGT6 with 1024K
- 150118069XXXX : Yes – ARM VGT6 with 1024K
The doubt can only be dispelled after opening the case and checking the serigraphy.
Before you start
-
- Recharge the battery

- Save your codeplug by identifying the origin in its file name (example 868.rdt). You can reuse the exports of contacts, channels, zones….


Open the housing of the radio station
Here are the necessary steps to open the ATD-868UV enclosure.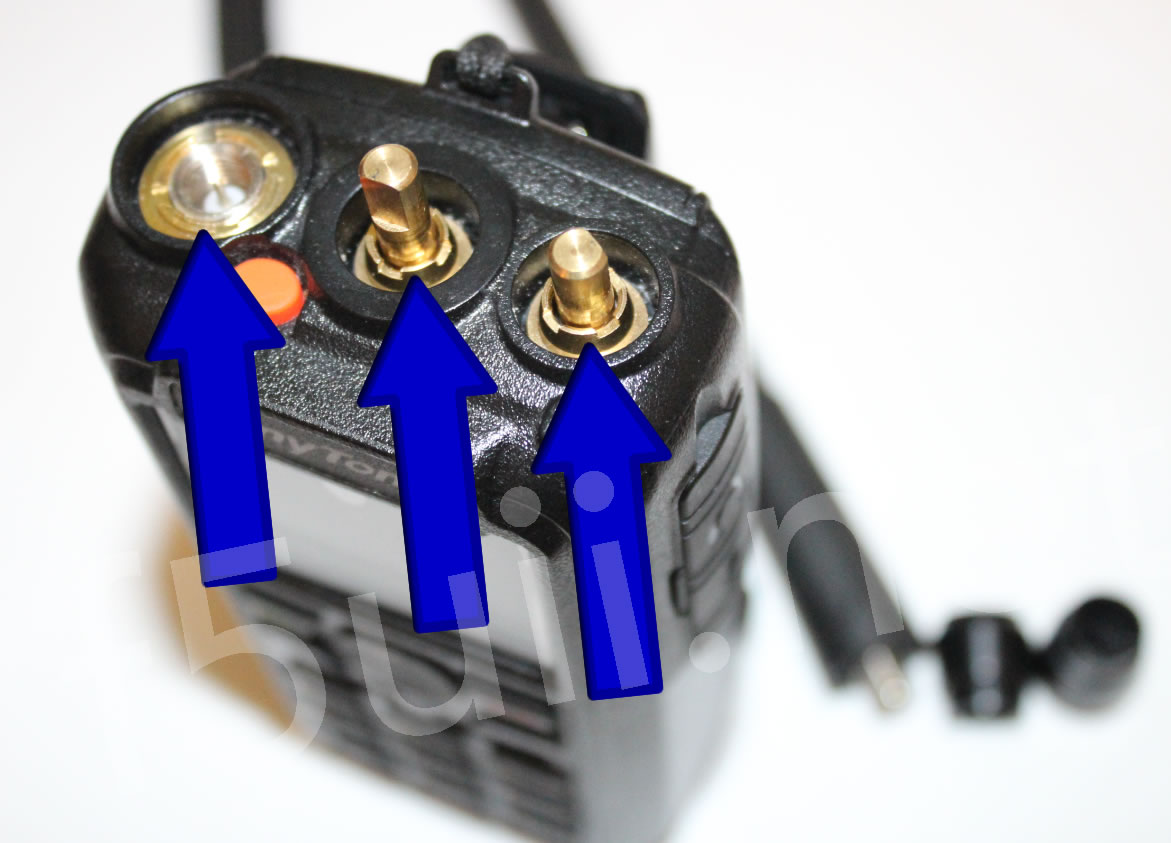
- Unscrew the antenna from its SMA connector.
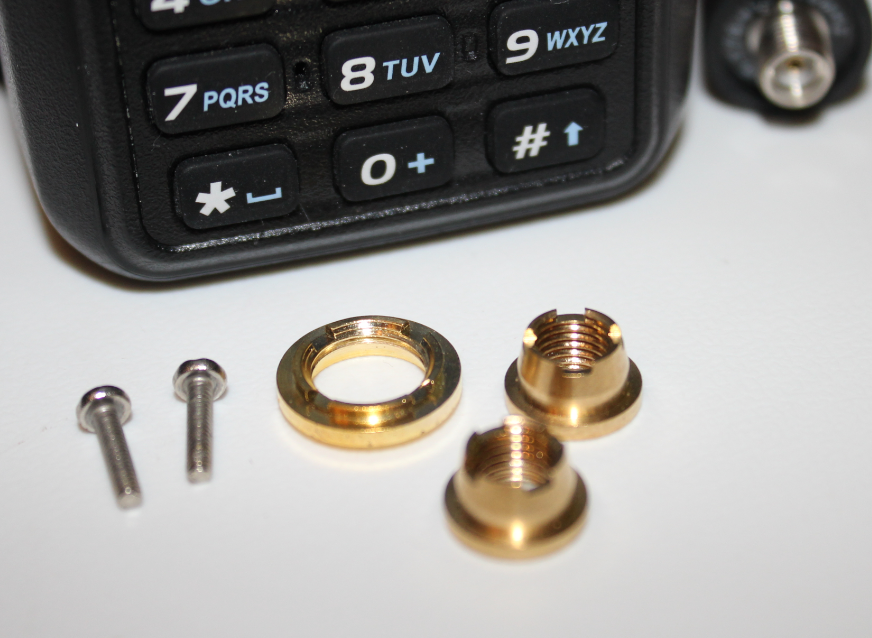
- Remove the 2 black rotary knobs by pulling them upwards.
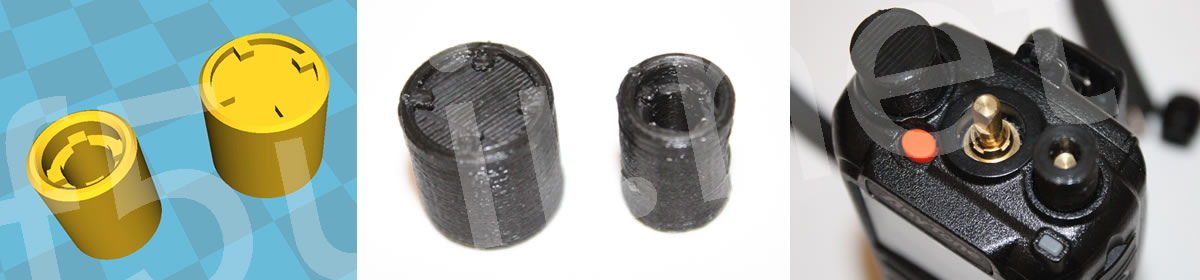
- Unscrew the brass rings from both buttons and the antenna.
You can do this very easily thanks to the two “screwdrivers” printed in 3D. The STL format template is available for download on the Waheiko account on thingiverse or directly for local download here (40kb zip): Anytone AT868UV AT878UV Opening tools
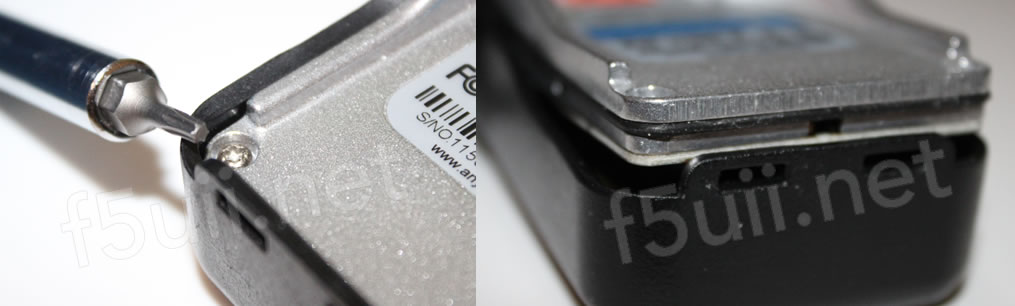
- After removing the battery, unscrew the 2 Torx T9 head screws on the back.
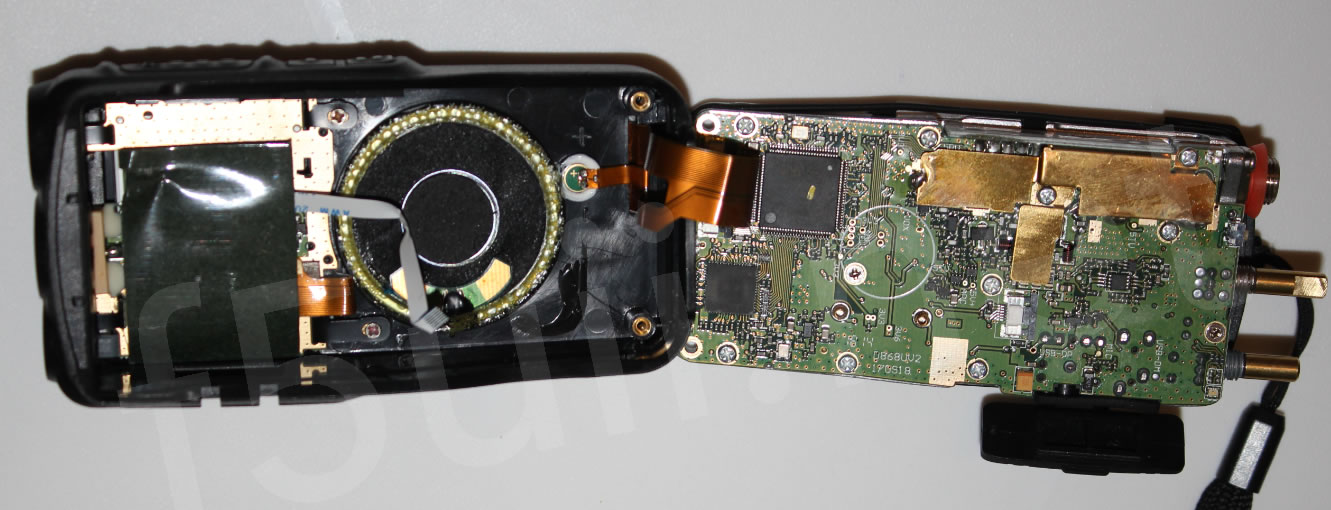
- Lift the metal part upwards.
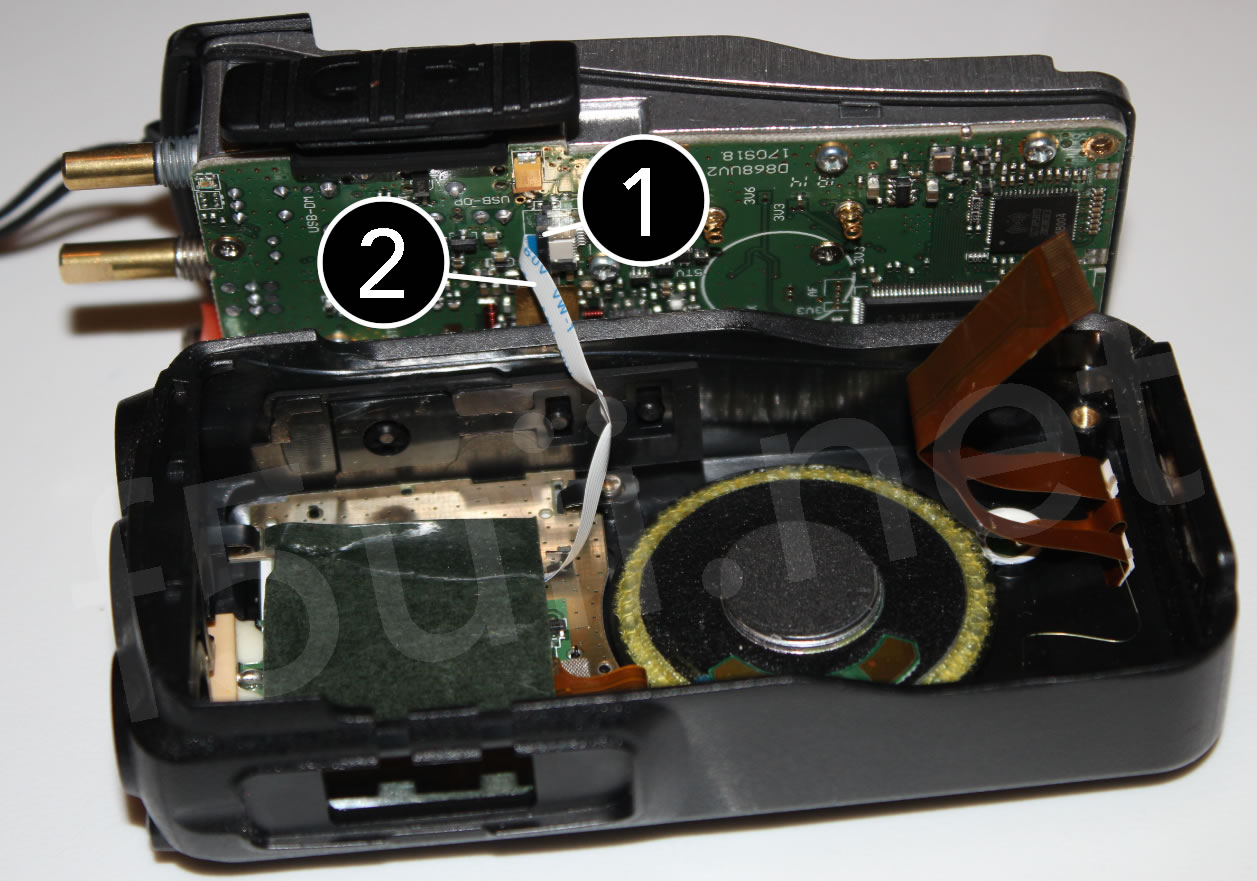
- Be careful, when opening, not to hurt the black seal placed all around the case, and also beware of the two flexible flat cables that connect the two parts.
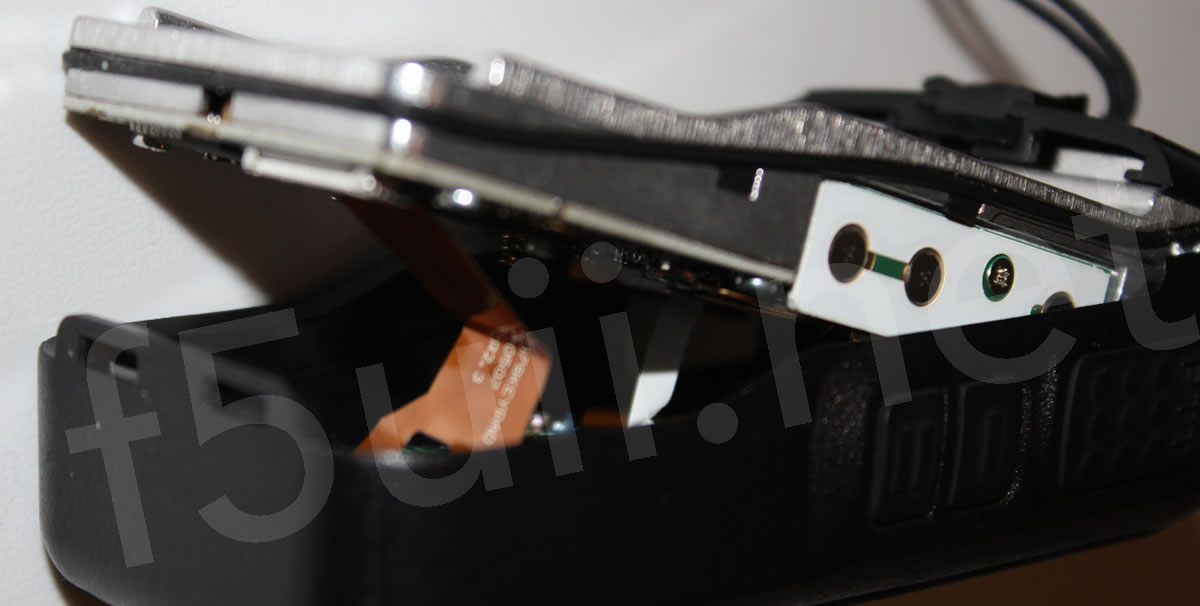
- To be able to open completely, you can release the brown flexible cable.
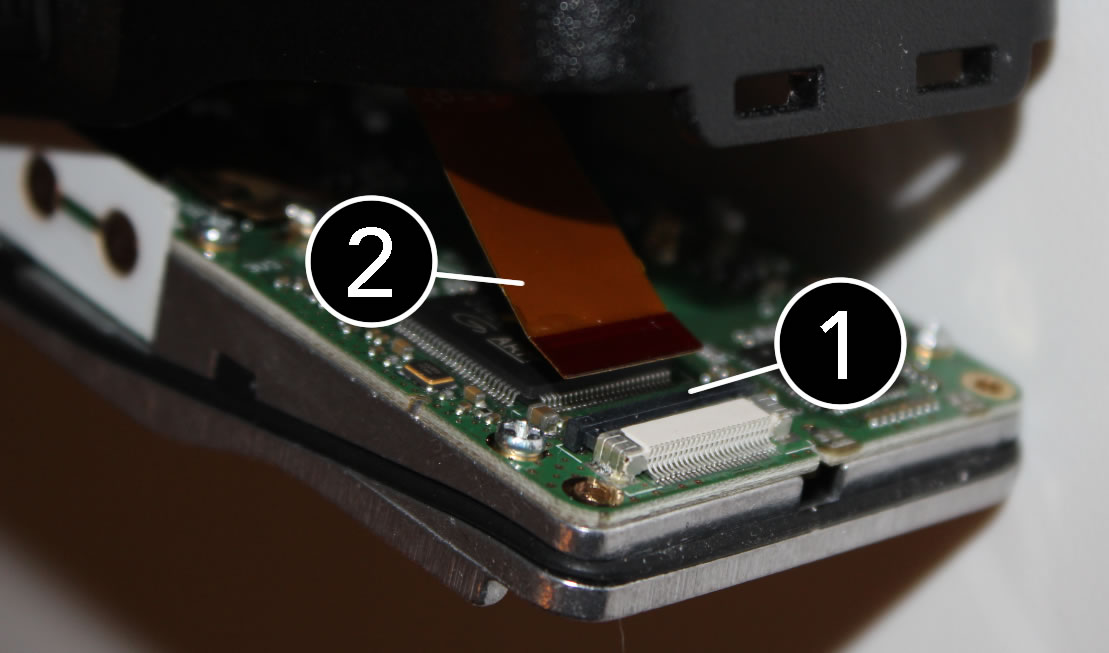
- Unlock the cable by sliding the black connector towards the cable (marked 1)
- Once unlocked, you can pull the flat cable back out of the connector (marked 2)
- Also release the second narrow white flat cable.
Prepare the wiring from the programmer to the radio unit.
After checking that the battery is well charged, place it in its place. Then position the two parts of the radio as shown in the picture. Re-wire the flexible flat cable, and lock it. The small white cable can remain disconnected for the programming phase.
Connect the programmer
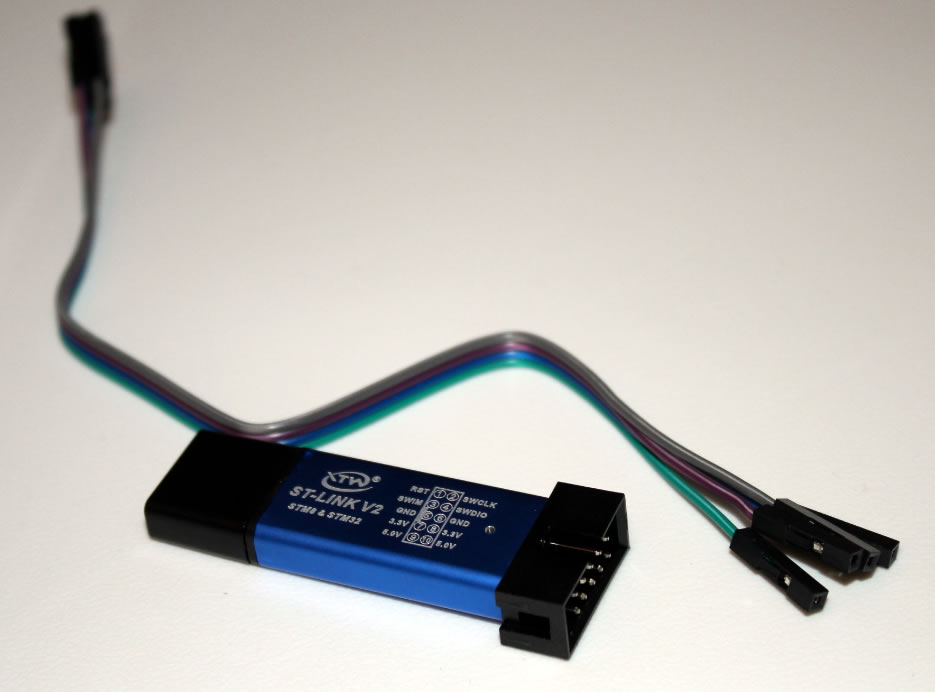
We will connect the ST-LINK V2 adapter to one of the sockets on your PC.
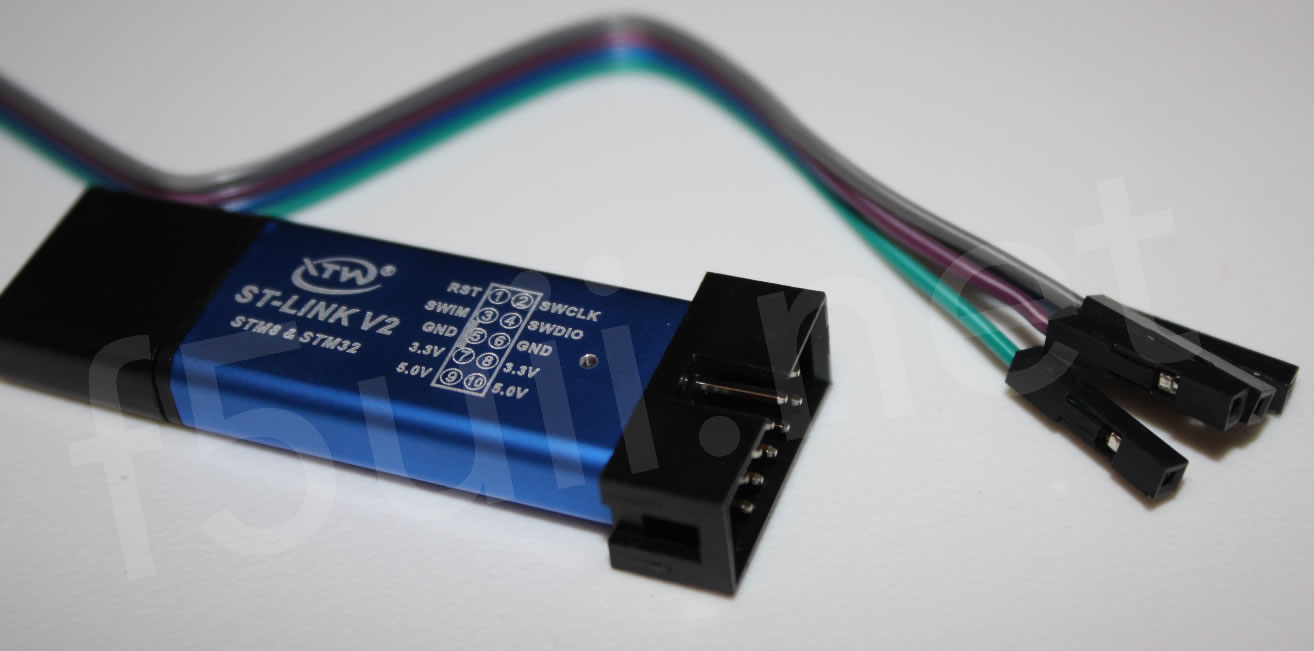
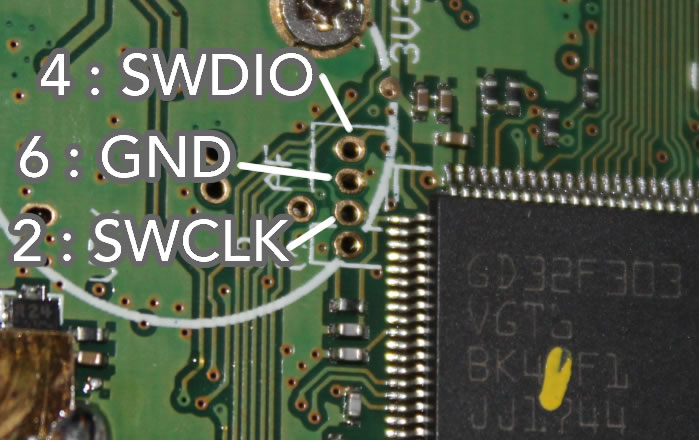
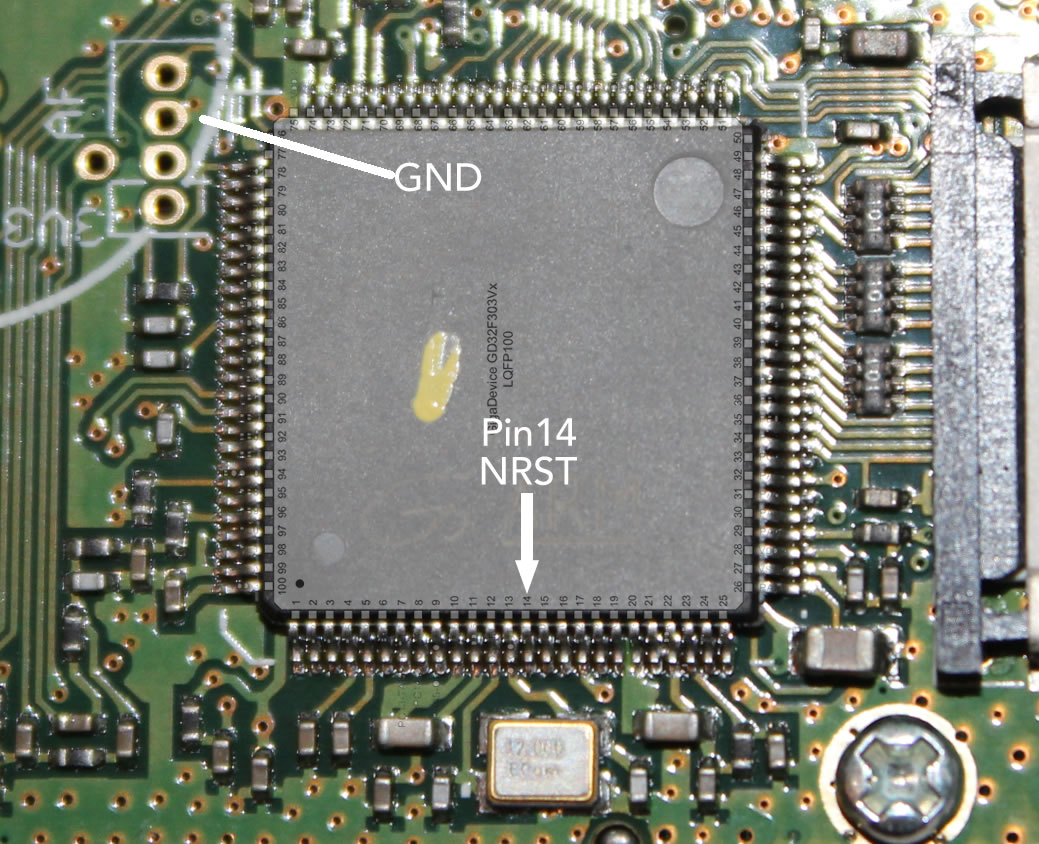
Next to the ARM processor, there are 3 pins that will have to be wired.
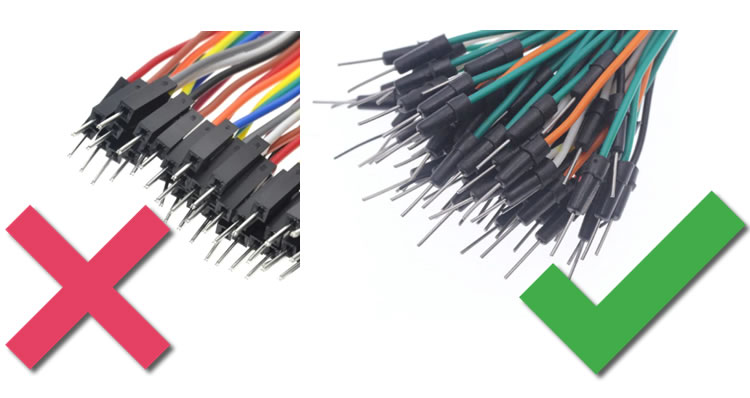
You can use test wires. The pins must be round. Dupond wires are rather square, and are not suitable.
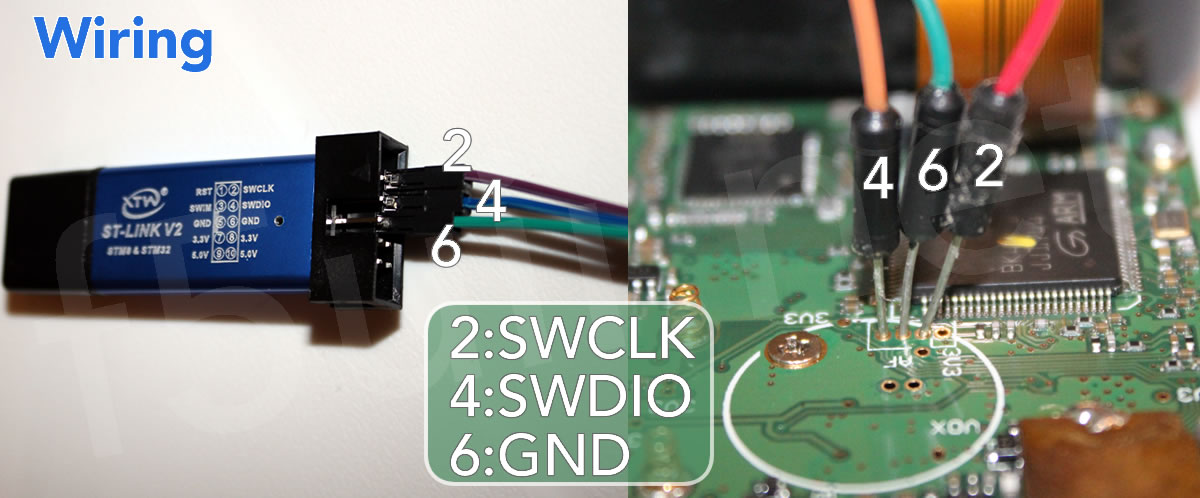
Position 3 links in the right order as shown in the pictures below in the “AF” delimited area next to the ARM. Be careful not to push the 3 pines too far.
- Pin 2: SWCLK is the clock, and connect to the pin closest to 3V3 in the serigraphed rectangle “AF”.
- Pin 6: GND is the ground, and is connected to the central pin of the “AF” serigraphed area.
- Pin 4: SWDIO transmits the data, and connects to the opposite pin of the 3V3 of the “AF” serigraphed area.
Install the ST-Link Utility programming software
The ARM is programmed using STMicroelectronics’ software. Indeed, the GigaDevice ARM GD32 is a chip that “looks” in every way like the original STM32 ARM.
- Download the loading software provided by the manufacturer ST Micro Electronics “STM32 ST-LINK Utility” (Currently in version 4.3.0 ,on the ST Micro Electronics website you must deposit your email address in order to receive the download link, or download it directly here version 4.0.0 (23Mo): en-stsw-link004.zip)
- Unzip
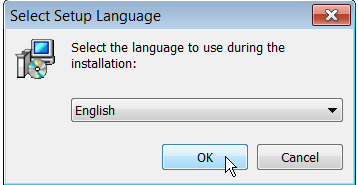
- Start the installation of the STM32 ST-LINK Utility software
- Connect via ST-LINK V2 adapter to your PC. Consider using a USB extension cord to keep the radio in place without moving it.
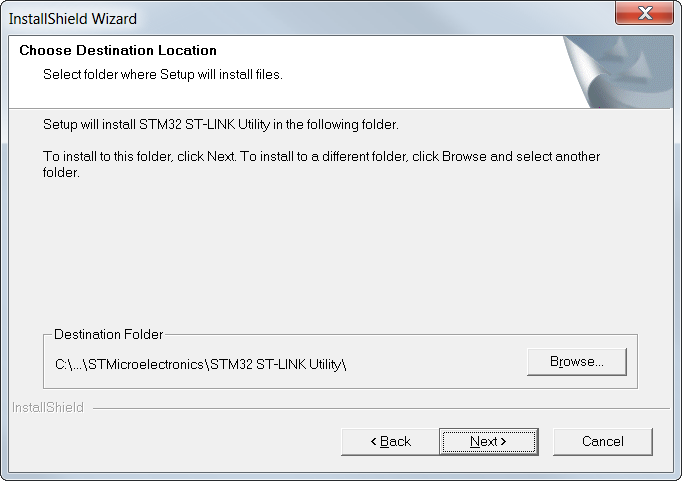
- The default file destination is perfect for this.
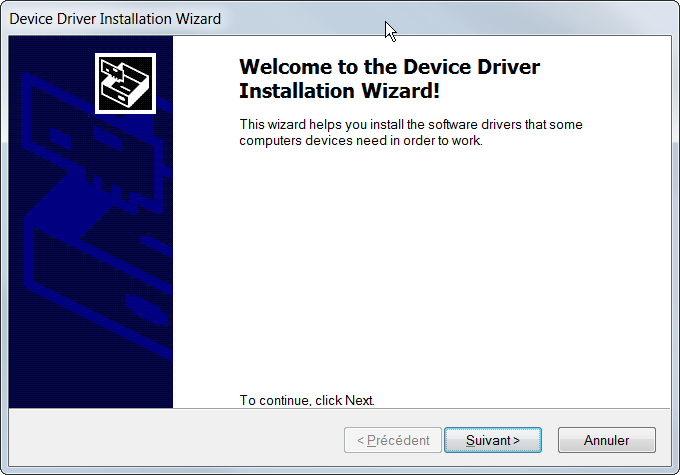
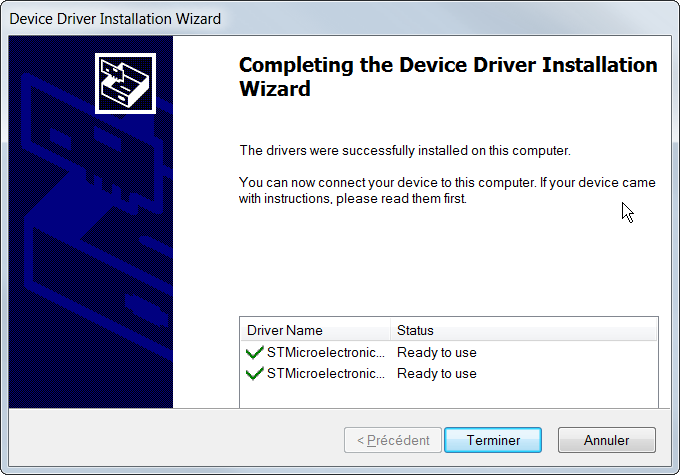
- The USB driver will also be installed, after a first click on Next
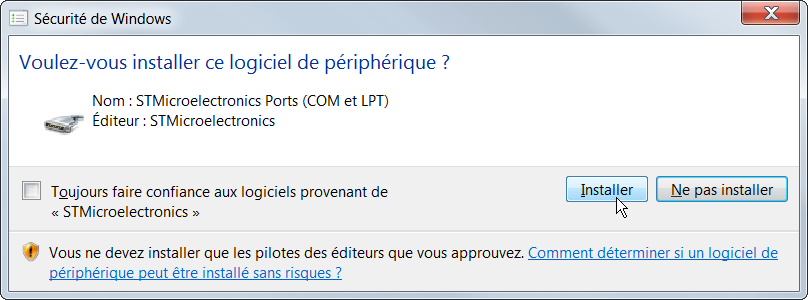
- Validate the installation of the USB drivers of the STM32 card by clicking on the Install button (twice)

- Launch the STM32 ST-Link software available in the start menu


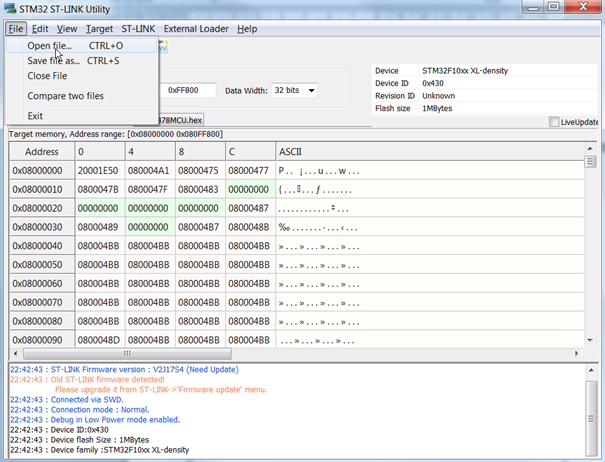
Perform a backup of the D868UV software
- Turn on your D868UV in programming mode: Turn the ON (volume) knob by holding the up (orange) and PTT buttons.
- The address must be equal to 0x0800000000 and the Size value to 0xFF800
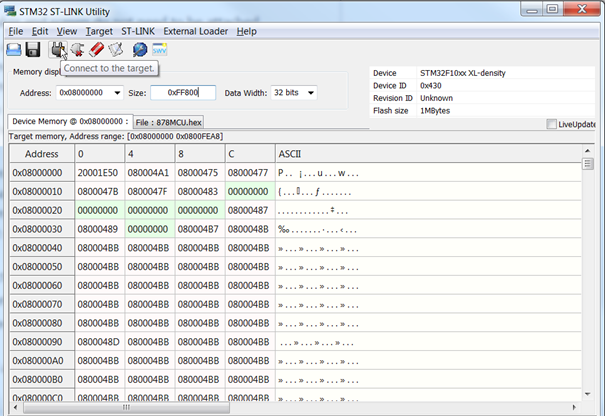
- Click on Connect to the target
- Click on File / Save as… Save the file with an explicit name (for example: save-868.hex)
- The software is read. You will find at the bottom of the screen these few lines:
21:44:28 : ST-LINK SN : Old ST-LINK firmware/ST-LINK already used
21:44:28 : ST-LINK Firmware version : V2J17S4 (Need Update)
21:44:28 : Old ST-LINK firmware detected!
                  Please upgrade it from ST-LINK->'Firmware update' menu.
21:44:28 : Connected via SWD.
21:44:28 : Connection mode : Normal.
21:44:28 : Debug in Low Power mode enabled.
21:44:29 : Device ID:0x430
21:44:29 : Device flash Size : 1MBytes
21:44:29 : Device family :STM32F10xx XL-density
21:47:29 : ST-LINK SN : Old ST-LINK firmware/ST-LINK already used
21:47:29 : ST-LINK Firmware version : V2J17S4 (Need Update)
21:47:29 : Old ST-LINK firmware detected!
                  Please upgrade it from ST-LINK->'Firmware
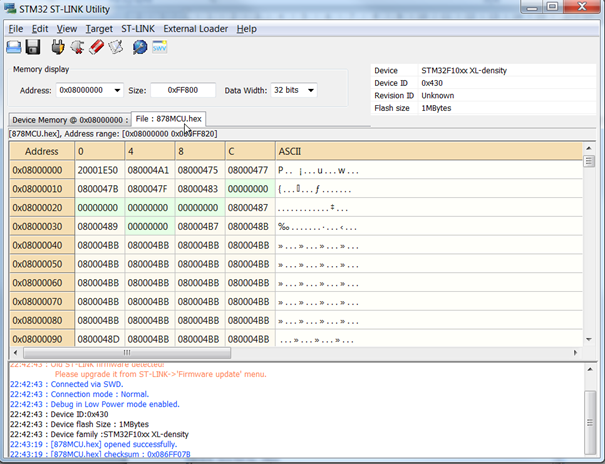
Load the new AT-D878UV software
We are now ready to load the software corresponding to the D878UV
- Download the source file 878MCU.zip
- Unzip the file.
- From the File menu, choose Open file…. Specify the path of your unzipped 878MCU.hex file. The Address field indicates 0x08000000

- n the Target menu , choose “Program & Verify”
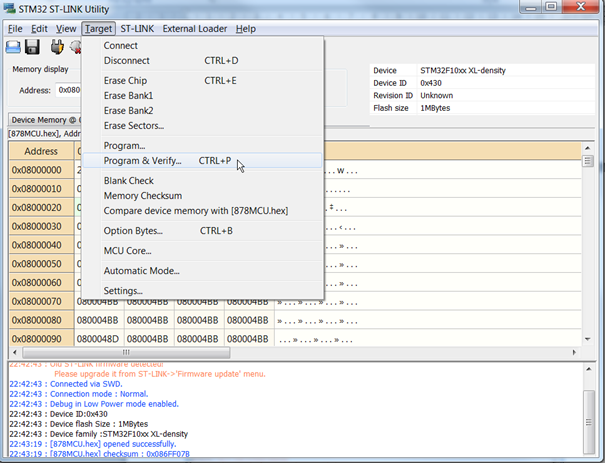
- The following summary window appears. Check the start address. The operation is started as soon as you click on the Start button.

- Writing the software takes about 92 seconds
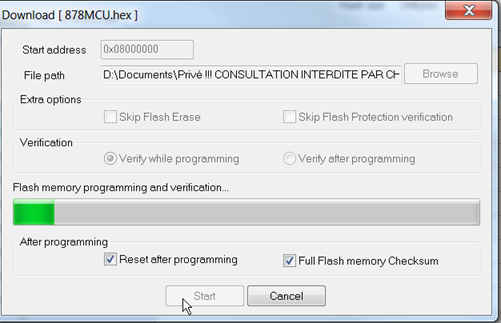
The processing is traced by the software:22:42:43 : ST-LINK SN : Old ST-LINK firmware/ST-LINK already used 22:42:43 : ST-LINK Firmware version : V2J17S4 (Need Update) 22:42:43 : Old ST-LINK firmware detected! Please upgrade it from ST-LINK->'Firmware update' menu. 22:42:43 : Connected via SWD. 22:42:43 : Connection mode : Normal. 22:42:43 : Debug in Low Power mode enabled. 22:42:43 : Device ID:0x430 22:42:43 : Device flash Size : 1MBytes 22:42:43 : Device family :STM32F10xx XL-density 22:43:19 : [878MCU.hex] opened successfully. 22:43:19 : [878MCU.hex] checksum : 0x086FF07B 22:45:50 : Memory programmed in 1mn and 32s and 337ms. 22:45:50 : Verification...OK 22:45:50 : Programmed memory Checksum: 0x086FF07B 22:45:52 : Flash memory [0x08000000:0x08100000] Checksum: 0x0877C89B 22:45:52 : Disconnected from device. 22:45:52 : Connection to device is lost: check power supply and debug connection. 22:45:52 : If the target is in low power mode, please enable "Debug in Low Power mode" option from Target->settings menu.


If during the writing operation, the flashing stops with an error, you can no longer switch your station to programming mode (DFU mode). You can reset by placing pin 14 of the ARM to GND ground.
Resetting and loading the latest D878UV firmware
- Turn off your Anytone. Disconnect the ST-Link USB programmer, disconnect the 3 programming wires from the radio board.
- T
- Download the CPS for the AnyTone D878UV (Version 1.10 is 7MB): D878UV 1.10.zip
- Unzip the file
- Unzip the USB_Virtual_Com_Port_Driver_v2.0.1.2313.rar file and launch the execution of the driver that will be used to communicate with the workstation via its serial link. (Choose x86 for a 32bit Windows, and x64 for the 64bit version)
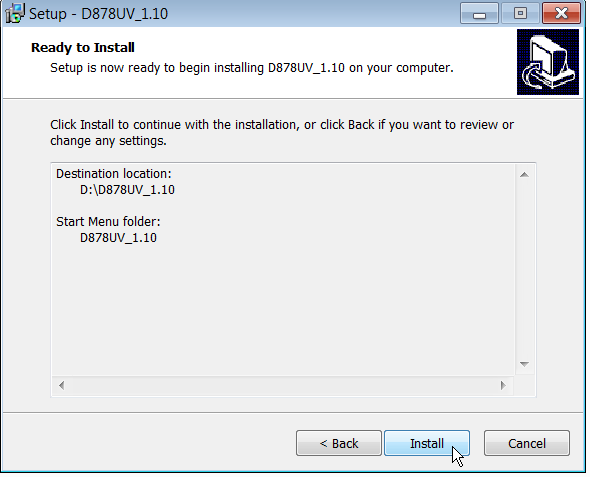
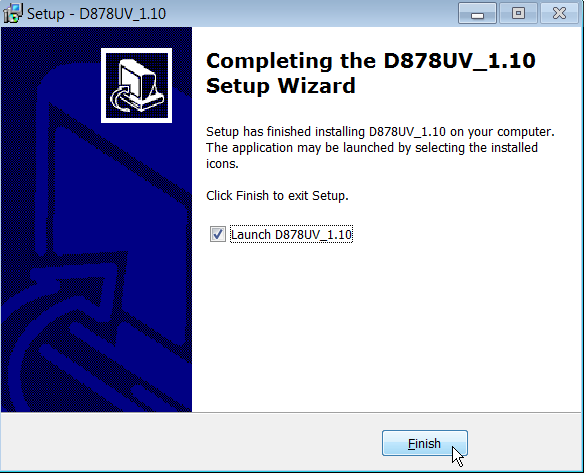
- Install the CPS by run D878UV_Debug_Setup_1.10.exe
-
Launch CPS D878UV 1.10
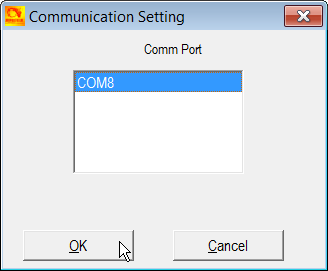
- Connect your usual USB programming cable to the microphone / loudspeaker jack on the set. Turn on your Anytone in programming mode (by holding down the PTT key and the upper orange key). The LED flashes slowly red.
- Select the communication port via the Set / Set COM Menu
- We will now go to the Tool / Fimwate Upgrade menu.
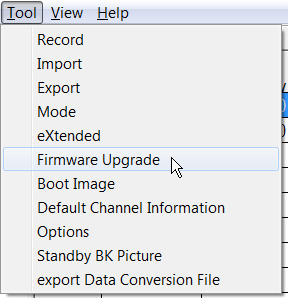
- Choose the file D878UV_V1.10_2018-12-21.spi
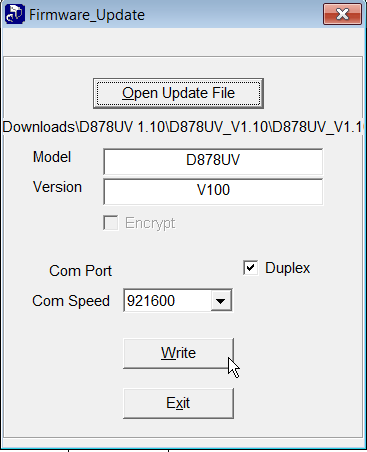
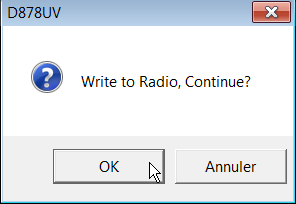
- Start writing the D878 v1.10 Firmware by pressing the Write key.
- Now, we update the firmware part specific to the graphical icons of the terminal. Turn off the radio and turn it on again while holding the PTT and PF2 button (the lower side button). The display shows “UPDATE MODE”. From the Tools menu, choose Firmware/Icon Upgrade. In the directory D878UV_ICONV1.1 / Anytone Startup, select the file D878_1G_ICON_V1.1d_20181227.spi. Click on the’Write’ button to start the update. Restart the radio.


Reconfiguring your Codeplug
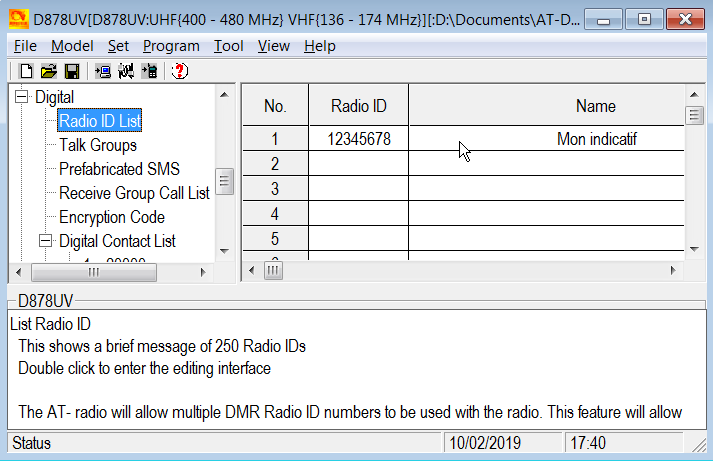
- With the CPS D868 and your last backup, export (Menu Tool / Export)
- Radio ID list
- Talk Groups
- Digital Contact List
- Scan list (if you have defined any)
- Channel
- Zone
- With the CPS D878, import your CSV files (Menu Tool / Import) in the same order. You can also transfer information by exporting and then importing globally with the Export All and Import All buttons.


Close your device

- Close the case carefully, making sure that the rubber seal fits properly in its slot.
- Tighten the 2 Torx head screws again
- Replace the 3 rubber seals (antenna and rotary knobs)
- Screw back the 3 brass parts – (help you with 3D printed plastic parts)
French Repeater Codeplug
As with its version for D868UV, here is the French repeaters codeplug for the AT-D878UV.
A codeplug is available with 121 French repeaters. After opening it with the CPS, remember to change your CSS7 ID. All channels are set to APRS transmission on TG208
- Download the “France” codeplug for ATD-878UV version 1.10 (2.4Mo) AT-D878UV v1.10 -France-APRS- F5UII-10-02-2019.rdt

The AT-D878UV manual
All I have to do now is deliver the documentation of the position to you (English) : ATD878UV-UserManual.pdf
Reference documents
This article has referred to these internet resources. Thanks to the authors and contributors.
Conclusion